This guide shows you how to put together a roof leak repair kit for DIY fixes. Discover key tools for fixing roof leaks. Use roofing cement and safety gear like harnesses. Consider using diagnostic aids like moisture meters and thermal imaging cameras. These will help you tackle leaks with confidence.
Finding a roof leak can be stressful. But with the right tools and some know-how, you can handle most repairs yourself. A roof leak repair kit is key for handling water stains and serious damage. Using the right tools and materials helps you work better. It also stops future problems.
This text shows you how to put together a roof leak repair kit. It also shares important safety tips and helpful advice to keep your home safe from future leaks.
Understanding Roof Leak Basics
A roof leak occurs when water gets through your roof’s protective layers. It can enter your home and may cause water damage. Leaks can cause stains, mold, and structural problems if not quickly fixed. Roof leaks can happen for many reasons. They include broken shingles, clogged gutters, cracked flashing, and poor installation. Grasping these basics helps you spot and fix leaks early, so they don’t become bigger issues.
- Missing or damaged shingles
- Cracked flashing or vent boots.
- Gaps around chimneys or roof penetrations.
- Clogged gutters lead to water pooling on the roof’s surface.
By understanding the root cause, you are better equipped to address the issue on time.
Identifying Signs of a Roof Leak
Spotting a roof leak early helps minimize damage. Look out for these signs:
- Visible water stains on the ceiling and walls.
- Dripping water during rain or storms.
- Peeling paint or moldy spots around affected areas.
- Splitting shingles or puddles in your attic.
Pro tip: Use a flashlight to inspect your attic during heavy rain for water infiltration.
Preparing for Roof Repairs
Getting ready is important for a smoother and easier roof repair. You can avoid unnecessary delays and complications by taking the time to get ready. Follow these steps to make sure everything is in place:
Assess Safety:
- Always wear safety gear, including a harness.
Gather Tools:
- Ensure all repair tools, such as a caulking gun or roof cement, are within reach.
Check the weather:
- Only attempt repairs on a clear, dry day.
Safety First: Ensuring a Secure Work Environment
Working on a roof can be hazardous, so always prioritize safety. This means wearing the right safety gear. Use harnesses and non-slip shoes. Also, check that all gear is in correct shape. Check the work area for risks before starting any task. Look for volatile surfaces or adverse climate conditions.
- Use a safety harness that anchors to a stable point to prevent falls.
- Inspect your ladder for stability before climbing.
- Clean the location of any barriers, including loose particles.
Protective Gear and Equipment
Equip yourself with these protective essentials:
- A helmet to defend your head from falling gadgets.
- Safety goggles to shield your eyes.
- Designers create non-slip boots for roof surfaces to avoid slipping.
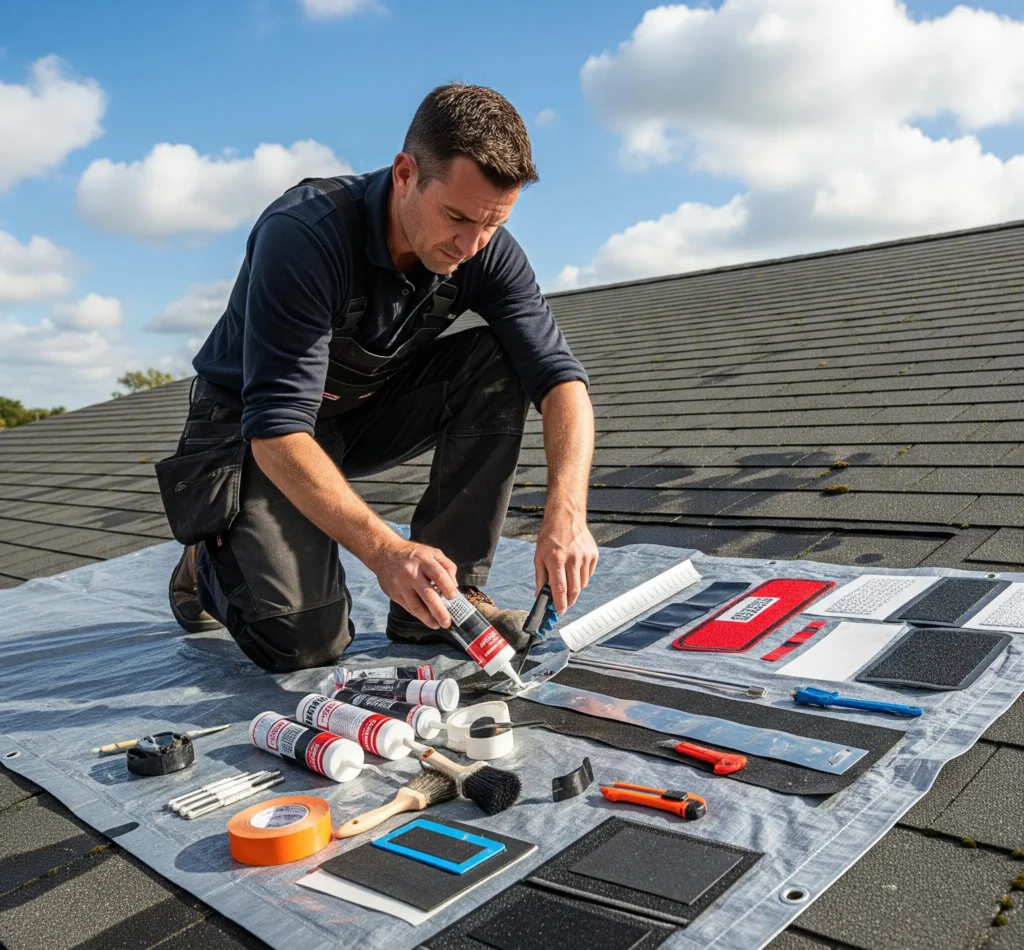
Assembling Your Roof Leak Repair Kit
A nicely prepared roof leak restoration kit is your best friend during emergencies.
Essential Tools
- Caulking gun for applying roofing sealant.
- Contractors use roofing cement to patch leaks with great success.
- Cordless drill for reattaching loose shingles.
- Extension ladder to access hard-to-reach areas.
Necessary Materials
- Roofing sealant for waterproofing.
- Workers use fiberglass mesh to patch larger holes.
- EPDM rubber for repairing flat roofs.
- Roofing nails and spare shingles for swift fixes.
Extra Tools for Precision
Precision tools can make repairs safer and more accurate.
Extension Ladder
An extension ladder is an essential tool for accessing your roof without risk. It should be at least three feet above the roof’s edge. This height gives extra stability and a secure grip when climbing on or off. Usually, set the ladder’s base on a stable, level surface to prevent slipping. Use hooks or straps to secure the top and keep it steady. This is important when you work at heights or in windy weather. A proper ladder setup is critical for both safety and performance.
Sturdy Tool Belt
A sturdy tool belt is essential. It keeps your tools organized and easy to reach while you work. It eliminates the need to climb the ladder often to get equipment. This saves time and lowers the risk of accidents from dropping tools. Choose a belt with several compartments and adjustable straps. This way, you can carry what you need while staying comfortable and focused on your task.
Efficient Cleanup and Maintenance
Cleaning up after repairs is key. It helps your fix last longer and keeps everything running well. Cleaning up debris, dust, and old parts keeps the area neat. It also helps prevent damage or wear in the future. Good maintenance after repairs can boost the item’s durability and performance. This helps you save time and money over time.
Using a leaf blower to clear debris.
- Use a leaf blower to clear away debris. This includes leaves and branches that might clog your gutters or gather on the roof.
- Avoid walking on fragile or damaged areas during cleanup.

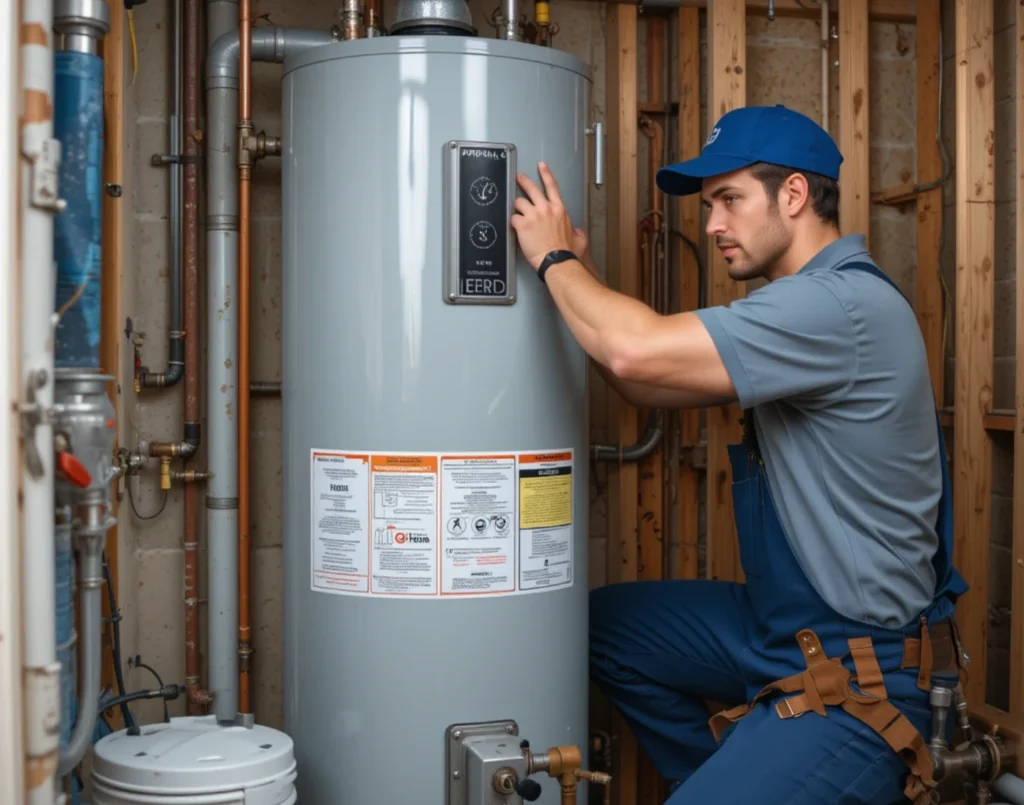
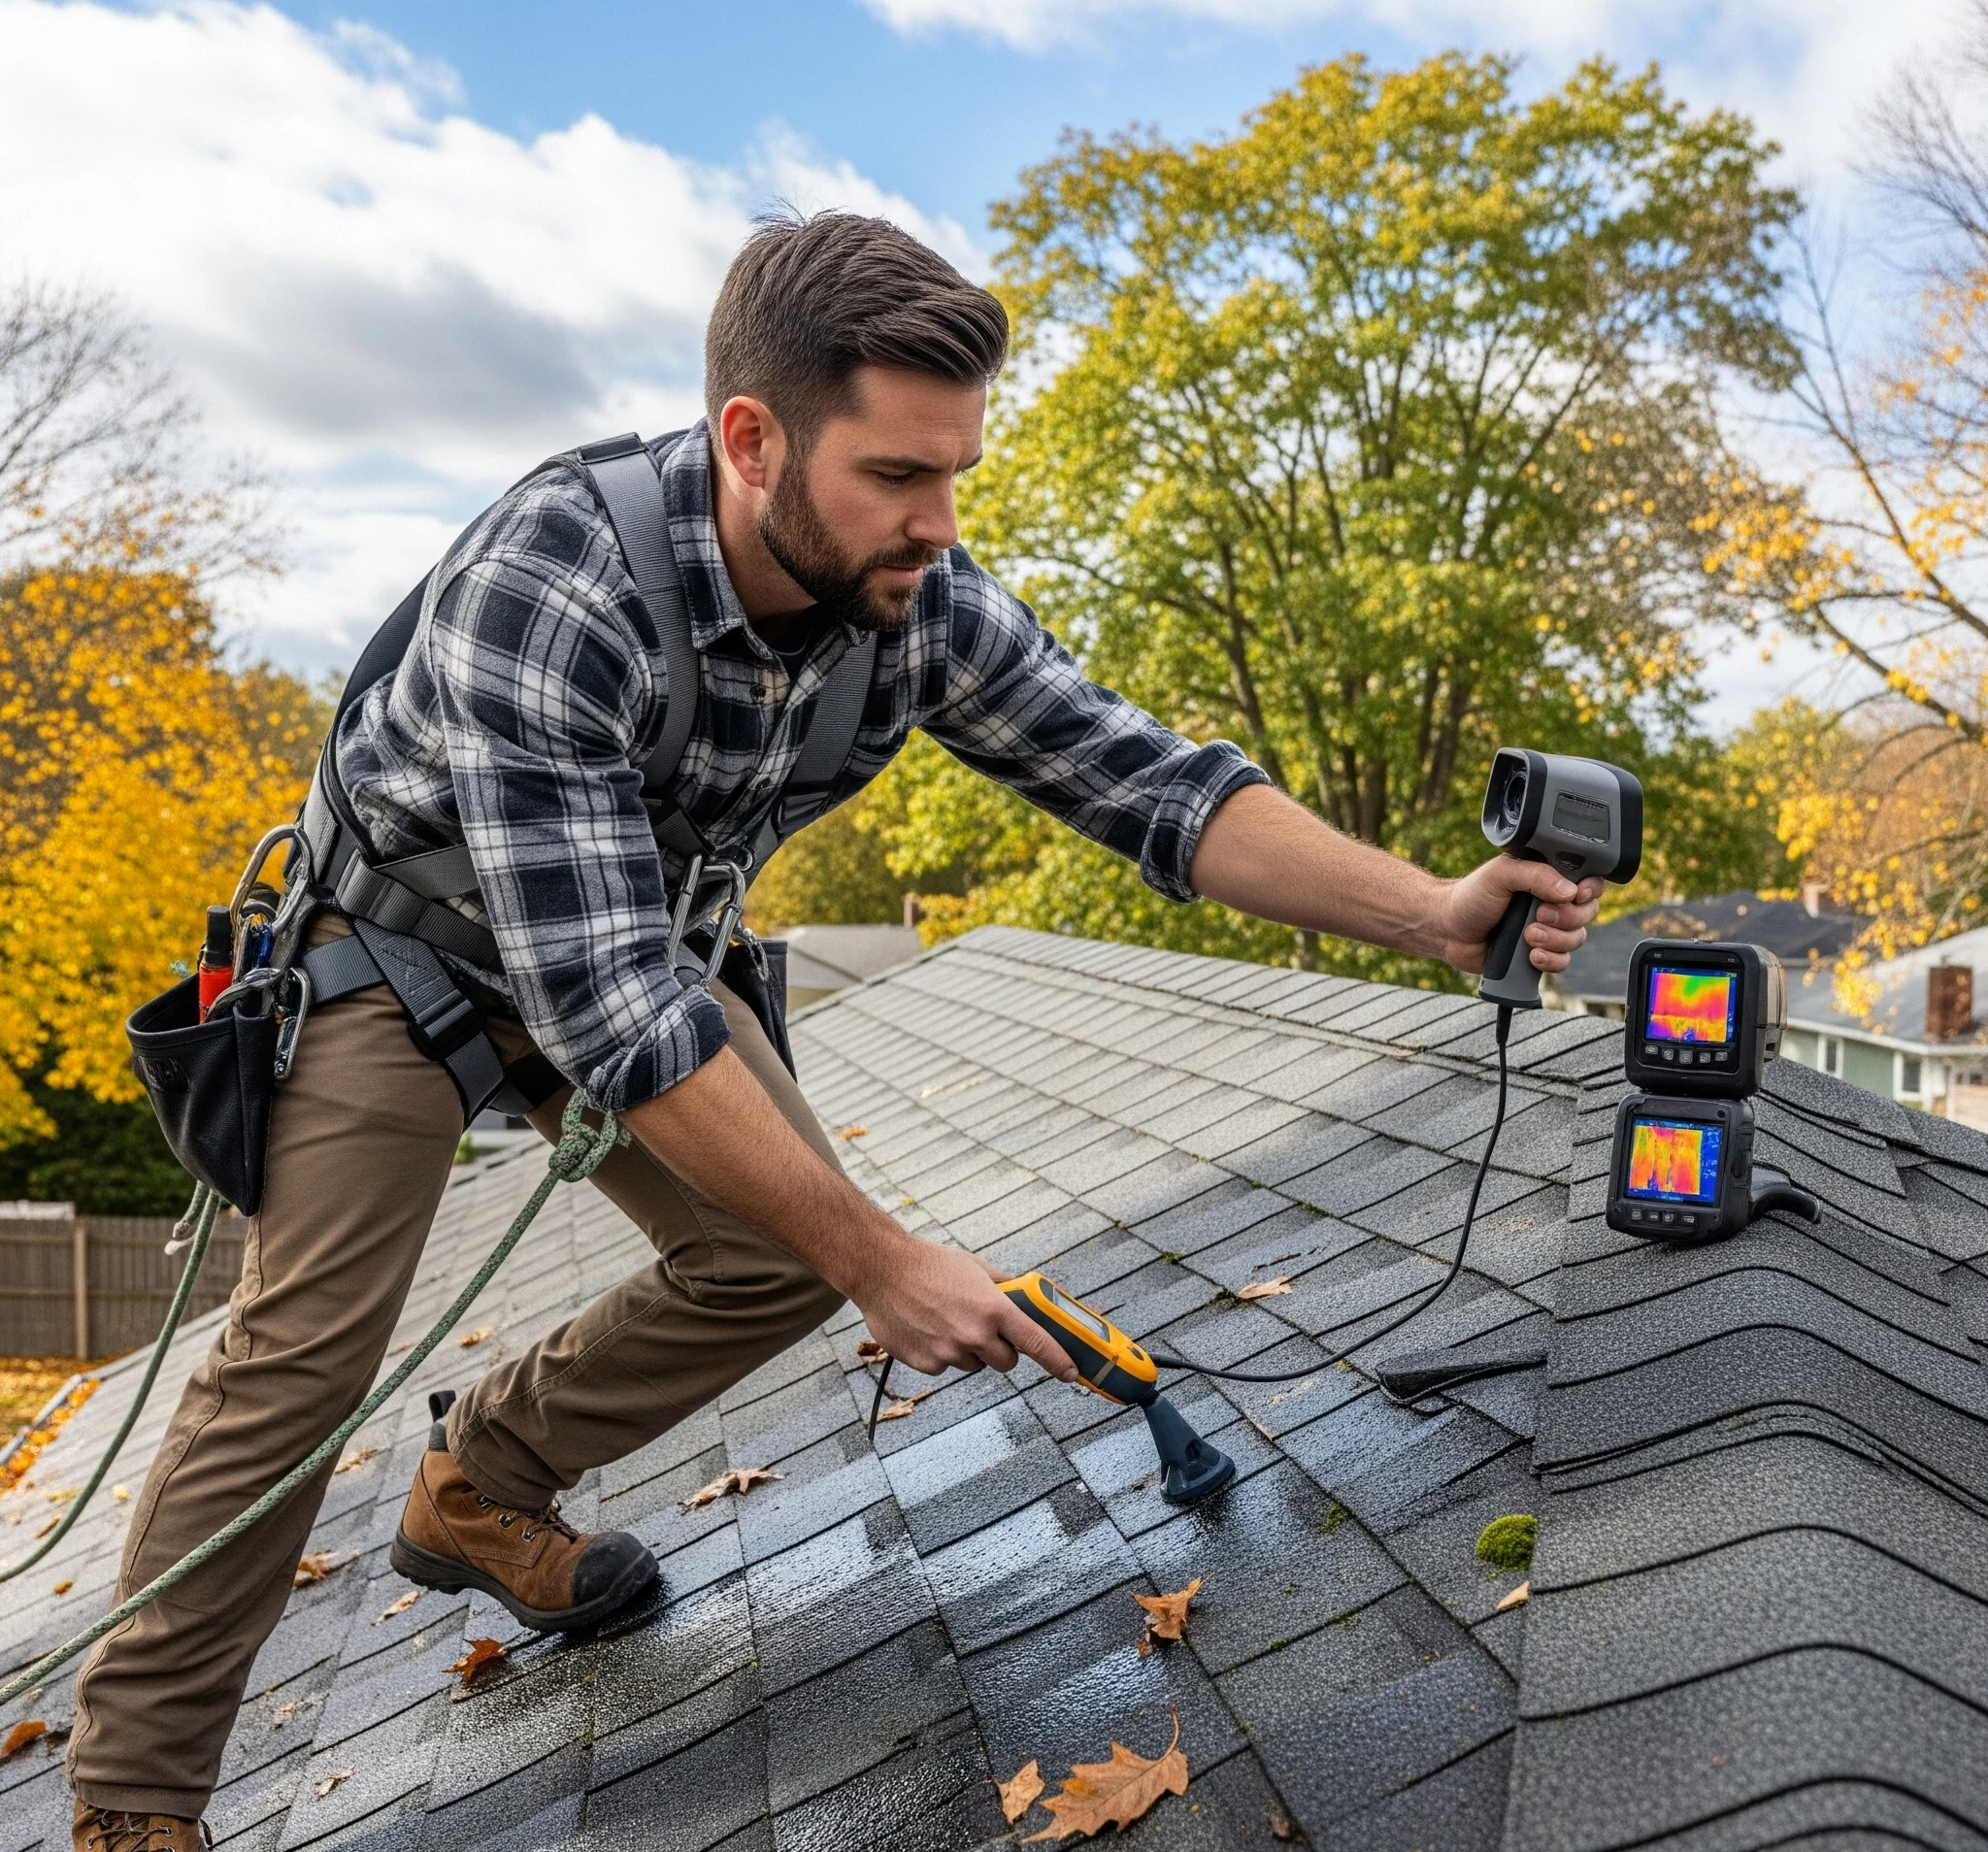
Diagnostic Aids for Leak Detection
Superior equipment and era help discover leaks with precision. These aids save time and cut costs. They also reduce damage by spotting issues early, which helps with quick repairs.
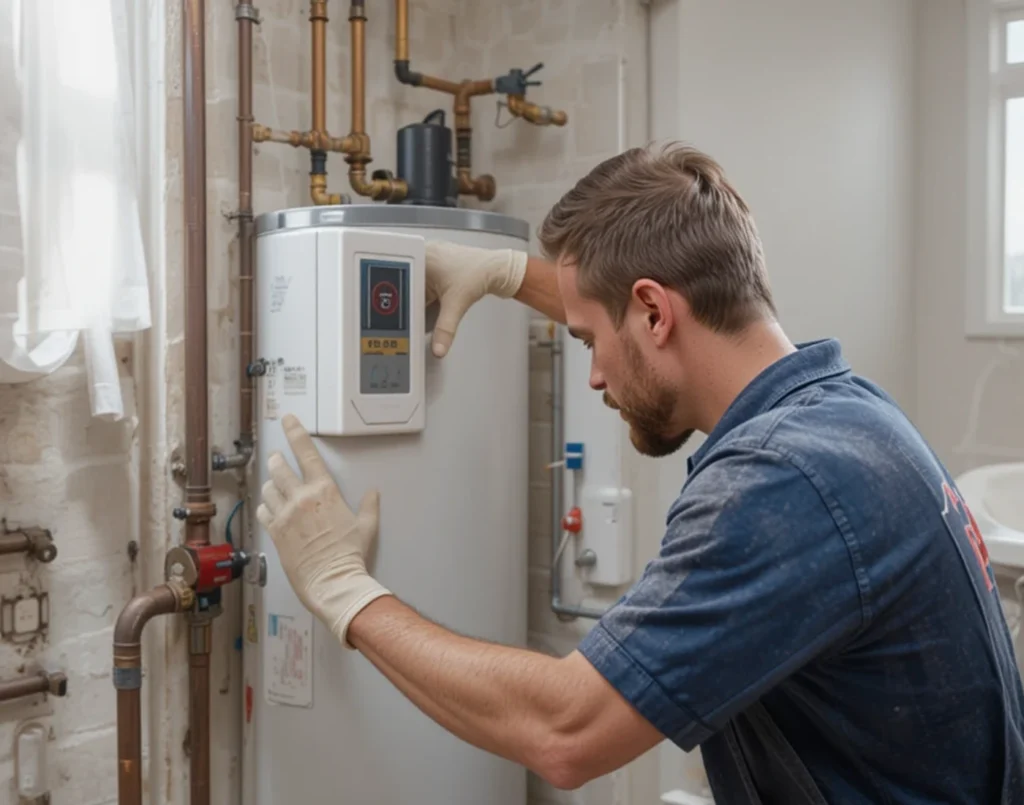
Moisture Meter
A moisture meter is a key tool. It helps find hidden water in walls, ceilings, or other materials. This device measures moisture levels on surfaces. This helps you find areas at risk for water damage or mold growth. Place the sensor on the material. It gives you quick, accurate readings. This helps you spot potential problems early.
Thermal Imaging Camera
A thermal imaging camera is great for spotting temperature differences in a building. Heat patterns show where water might collect, leak, or harm surfaces. This helps you spot issues in hard-to-reach places like behind walls or under floors. You can address water damage before it worsens.
Tips for Preventing Future Leaks
Prevention is the best cure. Taking proactive steps can save you from costly repairs and extend the life of your roof. Follow these suggestions to keep away from potential roof leaks:
Regular Inspections
Check your roof every six months for signs of wear, such as missing shingles, cracks, or sagging areas. Check after bad weather, like storms or strong winds. This helps to spot any damage early.
Maintain Gutters
- Clear leaves and twigs from gutters and downspouts regularly. This helps stop water from pooling and seeping into your roof.
- Consider installing gutter guards to decrease buildup and make protection easier.
Address issues without delay.
- Fix loose shingles, small cracks, or damaged flashing as soon as you notice them.
- If ignored, small issues can turn into big leaks, especially in heavy rain or snow.
Protect Roof Features
- Apply specialized coatings or sealants to vent boots, flashing, and other exposed components.
- This extra layer protects them from sun, water, and temperature damage. It helps them last longer.
Tip: Get a pro to inspect your roof every year. They can spot troubles you might miss and ensure your roof stays in top condition.
Regular maintenance helps prevent leaks and keeps your home safe and dry.
Conclusion
A roof leak repair kit saves you time and money. It also protects your home from water damage. Now you know how to fix leaks with high efficiency. You need essential tools. These include roofing cement and diagnostic aids, like thermal imaging cameras.
Begin by putting together your roof repair kit. Then, check your roof for any problems. Reliable repairs start with prepared homeowners!
Frequently Asked Questions
1. What tools and materials are typically needed for DIY roof leak repairs?
Essential tools include a ladder, a safety harness, gloves, and a utility knife. Common materials are roofing cement, a putty knife, roof patching fabric or a shingle patch, and matching asphalt shingles. The exact items depend on your roof type.
2. Are there DIY-friendly roof repair kits suitable for beginners with minimal tools?
Yes, several DIY-friendly kits exist. These often include a roll of peel-and-stick roofing membrane or butyl rubber tape and a tube of roofing sealant. They are designed for temporary, minor repairs on shingle roofs with minimal tools required.
3. What is the cost difference between DIY and professional roof leak repair?
DIY repair costs are typically just materials, ranging from $50 to $300 for a small fix. Professional repairs include labour and can range from $400 to $1,500+, depending on the leak’s severity. DIY saves money but lacks the warranty and expertise of a pro.
4. Are there any DIY options for minor roof repairs?
Yes, minor issues like a few missing shingles, small holes, or cracked flashing can be DIY projects. Temporary fixes include applying roofing cement under lifted shingles or using a patching kit. These are suitable for small, accessible problems.
5. How do I prevent or fix a roof leak?
Prevention involves annual inspections, cleaning gutters, and trimming overhanging branches. To fix a leak, first locate the source in the attic, then clean and dry the area. Apply a patch with roofing cement and fabric or replace damaged shingles, ensuring a watertight seal.