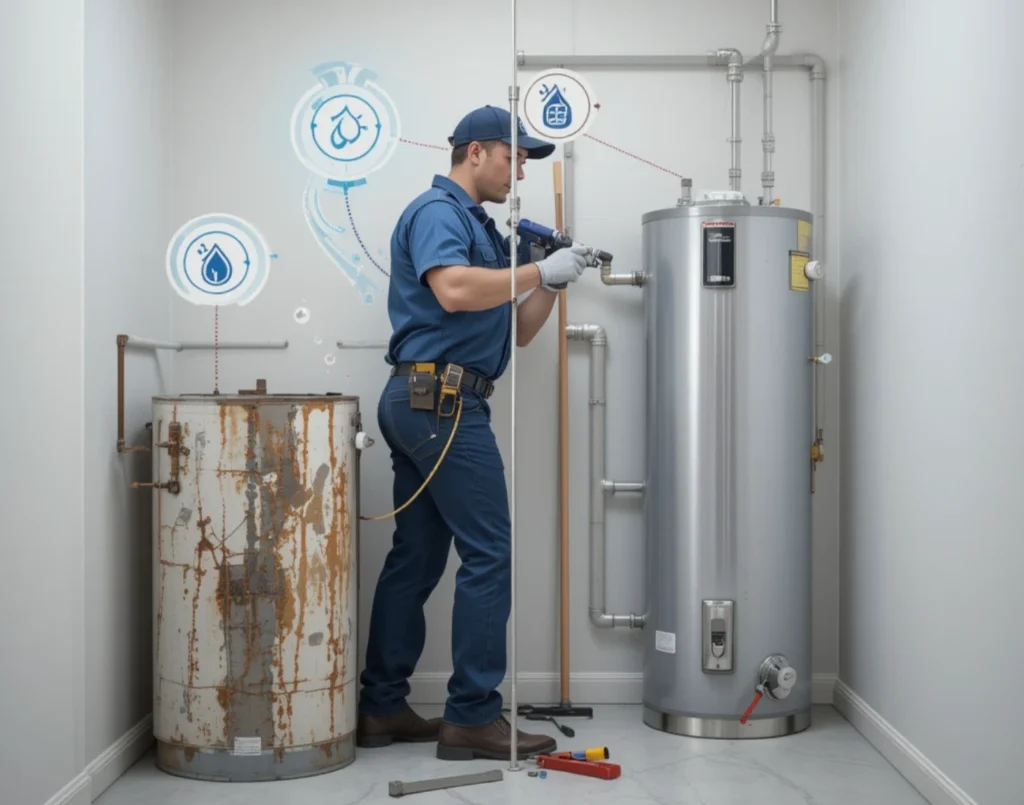
Fix a Leaky Faucet Without Calling a Plumber by following simple DIY steps. With basic tools and a little time, you can stop the drip, save on water bills, and avoid expensive plumbing service fees. Choosing the right plumber for your overhead shower repair saves time, money, and hassle. Low water pressure, leaks, or a broken showerhead can cost you. A smart approach means researching credentials and asking good questions. Also, avoid common hiring mistakes that can lead to bad results.
When hiring a plumber to repair an overhead shower, focus on professionalism, transparency, and quality over price. Always check licenses, certifications, and past client reviews to ensure credibility. Get a clear, written estimate including labour and parts, and confirm if warranties are offered. Avoid hiring based solely on the cheapest quote, skipping background checks, or working with plumbers who give vague answers or refuse documentation.
A Comprehensive Guide to Identifying the Cause of a Faucet Leak
Common Types of Faucets:
- Hot and cold handles on compression faucets are usually kept apart.
- Kitchens often use ball faucets. One handle on these faucets rotates a ball mechanism.
- Cartridge faucets, common in kitchens and bathrooms, may feature one or two handles.
- Ceramic disk faucets have two ceramic plates that slide against each other.
Finding the Leak
Examine the area surrounding the base:
- A leak there often indicates a bad O-ring or seal.
- Examine the area surrounding the base: A leak there usually indicates a bad O-ring or seal.
- Examine the area beneath the sink; a leak can indicate an issue with the connection or water supply line.
Understanding the Basic Components of Faucet Mechanics
Before fixing a leaky faucet at home, it’s important to understand the basic types of faucets. Most residential models fall into four main categories. Compression faucets rely on rubber washers that press against valve seats to control water flow. Knowing your faucet type helps you choose the right repair method and replacement parts for a lasting fix.
Understanding different faucet types is essential when learning to fix a leaky faucet. Ball faucets feature a single handle that rotates a ball to regulate water flow and temperature. Cartridge faucets operate with a movable cartridge that adjusts flow when turned or pressed. Ceramic disk faucets use two sliding ceramic plates to control water precisely, reducing wear and tear over time. Knowing your faucet type makes fixing leaks easier and more effective.
Essential Wrench Types for Different Faucet Components
Faucet Parts Vary in Size:
- No universal standard should be prepared with a range of tools.
- Proper fit prevents stripping or damaging components.
Required Screwdriver Options for Handle Removal
How to fix a leaky faucet: having the right tools is essential. You’ll need your head screwdrivers in various sizes. Many faucet handles have decorative caps that hide the mounting screws. Use a small flathead screwdriver to carefully pry off these covers without causing damage.
Identifying the Right Replacement Parts for Your Repair
When fixing a faucet, especially if you’re learning to fix a leaky faucet, it’s important to bring your old washers and O-rings to the hardware store to find exact replacements. Properly fitting parts are crucial because even slight size differences can cause new leaks and reduce the effectiveness of your repair.
Common replacement items include:
- Rubber washers (various sizes)
- O-rings in different diameters.
- Valve stems for compression faucets
- Cartridges for cartridge-style faucets
- Plumber’sreadd sealing.
Preparing space for Efficient Faucet Repair
Clearing the area around your kitchen sink
Before starting work on fixing a leaky faucet, clear everything from under the sink and around your workspace. This gives you enough room to easily manoeuvre tools and reach the shutoff valves. Lay toshutoff rags to catch water drips and protect cabinet surfaces from damage. Ensure the area is well-lit; a headlamp or flashlight can help illuminate tight spaces, especially under the sink, where most water shutoff valves are found.
Organisational tools and tools for easy access
- alve operation
- Handle removal
- Component inspection
- Reassembly
Set up your phone or tablet to reference this guide during the repair. Taking photos at each step helps create a visual guide. This makes it easier to reassemble everything correctly.
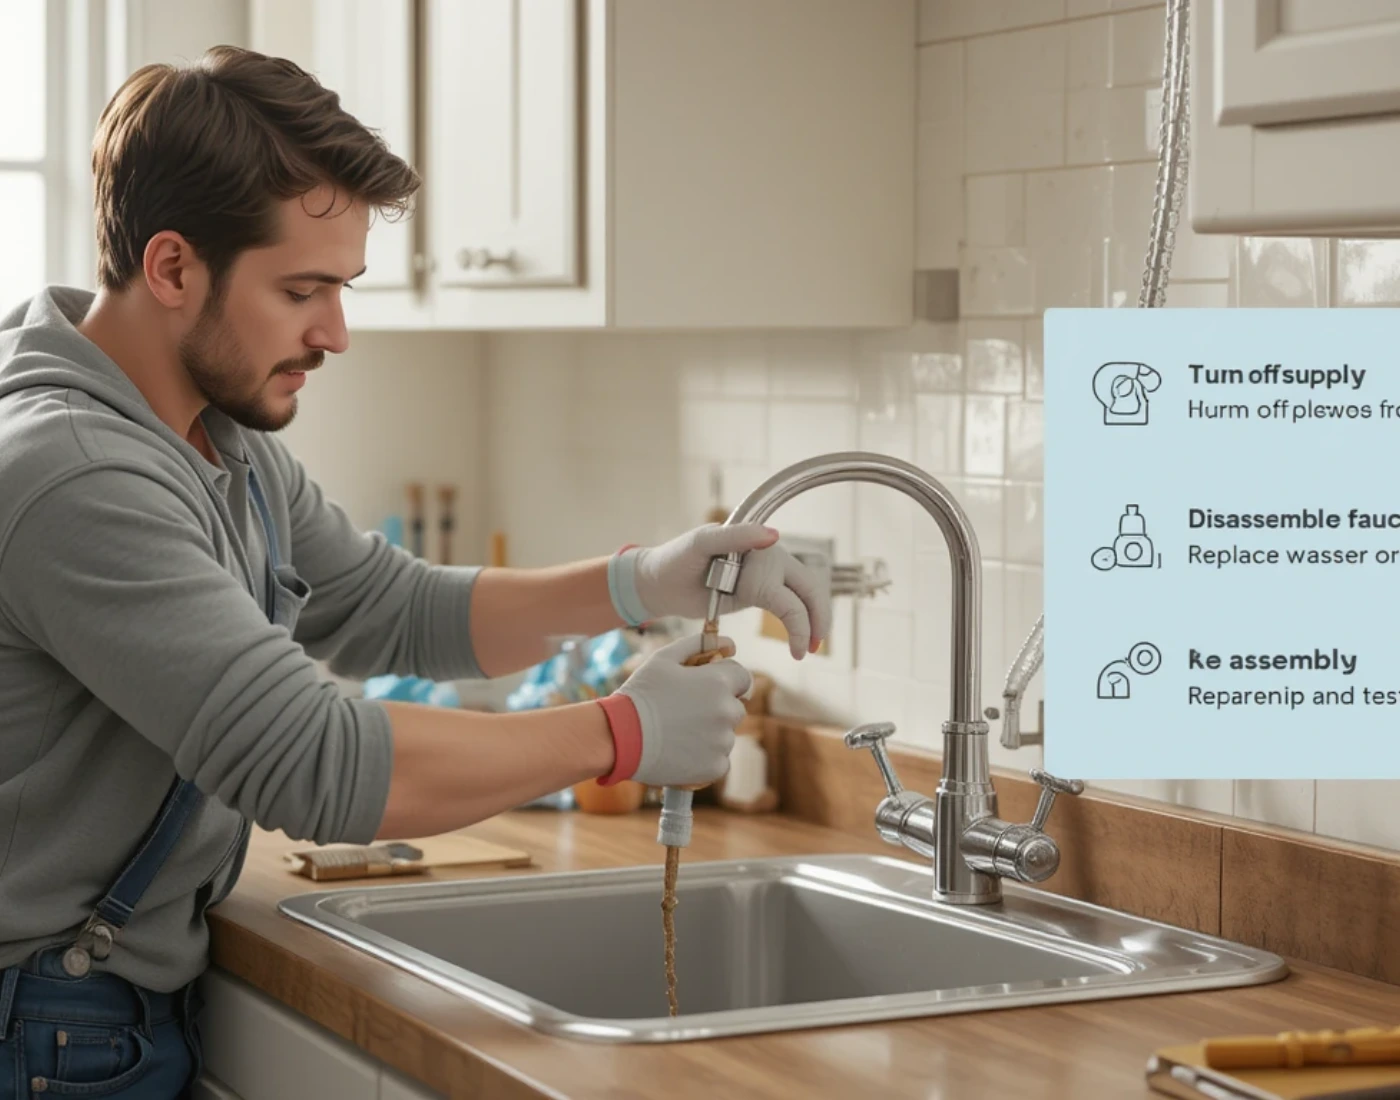
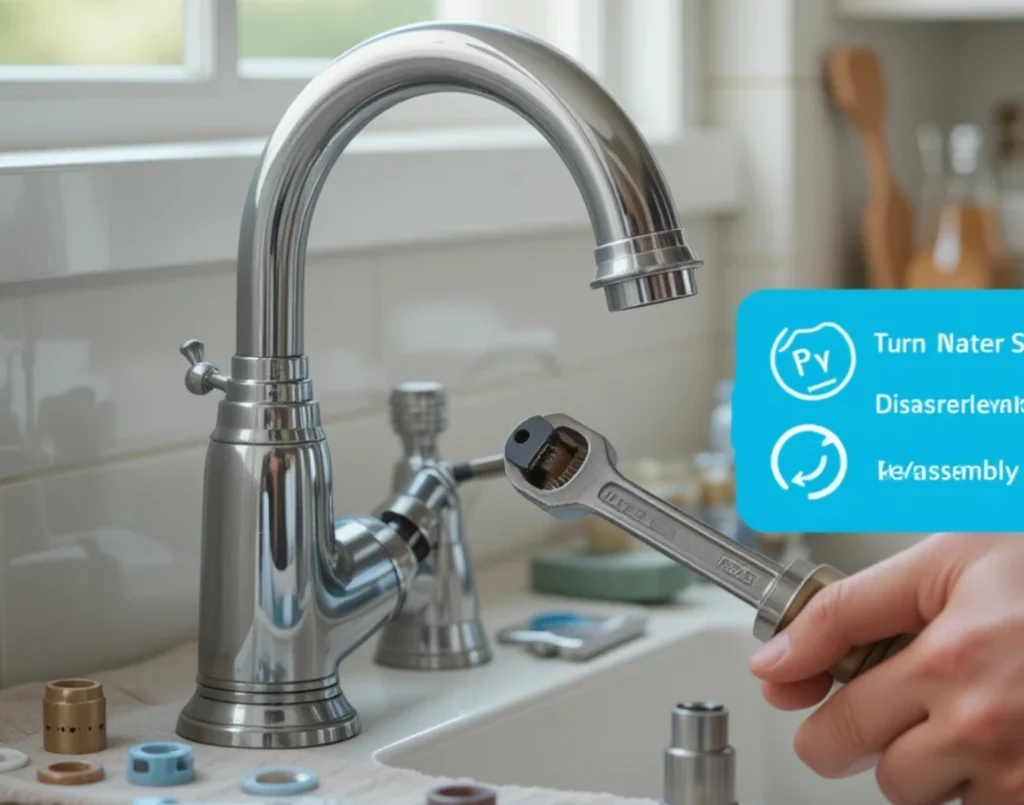
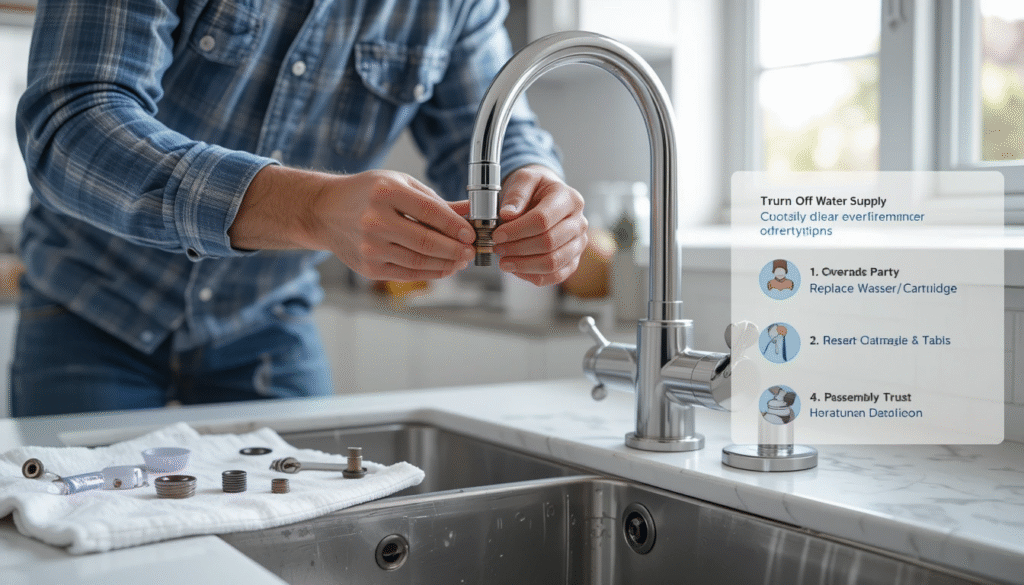
Turning off the water supply before starting work
Before fixing a leaky faucet, locate the shutoff valves beneath your sink. Shutoff valve clockwise to stop the water supply, but avoid over-tightening to prevent damage. If you have dual shutoff valves, shut off the main water supply, stopping water flow to the entire house. Once the water is off, open the faucet to drain any remaining water. This simple step prevents unwanted spills and keeps your work area clean while you proceed with the repair.
How to Repair a Leaky Faucet in Easy Steps
Once you know where the leak is coming from, follow these steps to repair it safely and efficiently.
Gather the necessary tools
You’ll need:
- table wrench
- Flathead screwdriver
- Phillips screwdriver
- Replacement washers or cartridges (depending on faucet type)
- Plumber’s grPll
Step-by-Step InsPlumber’s InsPlumber’s water supply:
- Locate the shutoff valves under the sink.
- Turn off the water clockwise until it stops completely.
- Use a sink stopper or a rolled-up rag.
- Prevents losing small screws or parts during the repairs.
- Use the correct screwdriver (Phillips, flathead, or Allen) based on the handle type.
- Unscrew and carefully lift off the handle.
- Gently take apart the internal components.
- Extract the cartridge, washer, or other internal parts.
Disassemble the faucet components in an organised manner
Removing faucet handles with organised damage
When learning how to fix a leaky faucet, start by checking the faucet handles for decorative caps that hide the mounting screws. Gently remove these caps using a small flathead screwdriver or a putty knife, taking care not to scratch the surface. Some caps are threaded and unscrew rather than pop off, so try turning them counterclockwise before prying. This step ensures easy access to the screws for the next stage of your faucet repair.
How to fix a leaky faucet, s: art by removing the handle screw using a Phillips-head screwdriver on. Once the handle is exposed, if it’s stuck, gently wiggle it while pulling upward to loosen it. Mineral buildup often causes handles to stick firmly to their stems, so patience is key during this step to avoid damage.
Accessing the valve components inside your faucet
Once the handles are removed, you’ll find that the lock that holds the valve stem in place. Use an adjustable wrench to turn the packing nut counterclockwise. Be prepared to apply some force, especially with older faucets, as these nuts can be tight and difficult to loosen during how to fix a leaky faucet repairs.
Working on how to fix a leaky faucet, carefully remove the packing nut, paying attention to its position and orientation. Once the packing nut is off, the valve stem should lift out smoothly.
Inspecting faucet components for wear and damage
Checking for Worn Washers at Stem Ends:
- Located at the bottom of the valve stem.
- The most common failure point in compression-style faucets.
- Cracks in the rubber.
- Washer feels hardened or brittle.
- Parts may be flattened, misshapen, or missing entirely.
- Even minor wear can cause persistent dripping.
- This is where the washer seals against the faucet body.
Identifying Damaged O-Rings Around Valve Components
When working on how to fix a leaky faucet, check the O-rings, as they are essential for creating watertight seals around moving parts. Inspect each O-ring for cracks, hardening, or deformation because even the smallest damage can lead to leaks. Replace any O-ring that looks worn or damaged. As you remove them, count the O-rings and note their exact positions, since some valve stems have multiple rings of different sizes. Correct placement is critical to prevent future faucet leaks and ensure a long-lasting repair.
Evaluating valve stem condition and thread integrity
When learning how to fix a leaky faucet, carefully inspect the valve stem threads for any signs of wear, damage, or corrosion. Stripped threads can stop the stem from tightening correctly, often resulting in persistent leaks. The valve stem should operate smoothly without binding or having excessive looseness, ensuring a secure and watertight connection.
Replacing faulty parts with quality components
Installing New Washers with Proper Orientation:
- Located at the bottom of the valve stem.
- The most common failure point in compression-style faucets.
- May appear flattened, misshapen, or missing entirely.
- Even slight wear can lead to persistent dripping.
- The valve seat is the metal surface that the washer presses against.
- A smooth, undamaged seat is critical for a good seal.
- Further repair or replacement may be needed if it shows grooves, pits, or corrosion.
Replacing O-Rings Using Correct Sizing Methods
To prevent damaging the surfaces they seal against, gently remove old O-rings. Clean the grooves thoroughly before installing new O-rings.
When fixing a faucet, it’s best to install new O-rings gently into their grooves rather than stretching them over threads. Stretching the O-rings can weaken the rubber, leading to early failure and future leaks. This careful step is important in fixing a leaky faucet correctly and ensuring lasting results.
Fitting a new valve stem when necessary:
- Some leaks persist even after replacing the washer.
- Worn threads, damaged stems, or corroded parts may require full stem replacement.
- New valve stems usually have pre-installed washers and O-rings. These keep all sealing surfaces fresh and effective.
- Thread the new valve stem by hand to avoid cross-threading.
- Ensure the threads engage smoothly and correctly.
Reassembling the faucet in reverse order
Reattaching handles with secure mounting methods
Install the valve stems by threading them clockwise into the body when fixing a leaky faucet. Tighten the packing nut securely, but avoid over-tightening, as this can compress the threads and cause binding. Once the stems are in place, reattach the faucet handles by reversing the removal steps. Ensure the handles are properly aligned before tightening the mounting screws, as misalignment can affect smooth operation and lead to future wear.
Testing for Leaks After Completing Repairs
To complete the final step in fixing a leaky faucet, slowly restore the water supply by turning the shutoff valves counterclockwise, listening for unusual noises that could signal an issue with your repair. Test both hot and cold water by turning the faucet on and off. Carefully inspect all connection points for signs of leaks, including the area under the sink where the supply lines meet the faucet.
How to fix a leaky faucet turn the faucet on and off to test both hot and cold water flow. Carefully inspect all connection points for any signs of leaks. Don’t forget to check the sink where the supply lines connect to the faucet to ensure everything is secure and leak-free.
When to Call a Professional Plumber
Leaking supply lines behind walls or slabs:
- May require specialised grinding tools or full replacements, depending on the capabilities of most homeowners.
- Hidden leaks need advanced leak detection.
- Repairs may involve cutting into drywall or concrete, which is best left to professionals.
- A strong sign of a main line blockage.
- Requires proper diagnosis and professionally graded raincleaning equipment.
Maintenance Tips for Preventing Future Leaks
Regular maintenance is key when learning to fix a leaky faucet and prolong its lifespan. Always turn faucets off gently to avoid premature wear on internal parts. Address small leaks promptly to prevent them from developing into costly repairs. If your home has hard water, consider installing a water softener to reduce mineral buildup that can damage faucets. Inspect your faucets every three months, checking for stiffness or minor drips. These simple, proactive steps help prevent water waste and save money on repairs.
Final Tips for Preventing Future Faucet Leaks:
- The handles wear out the washer.
- Clean your faucet monthly to prevent mineral buildup.
- Replace worn-out parts early instead of waiting for a leak to worsen.
- Keep a basic faucet repair kit at home for emergencies.
Frequently Asked Questions
1. Can I fix a leaky faucet myself, and what tools do I need?
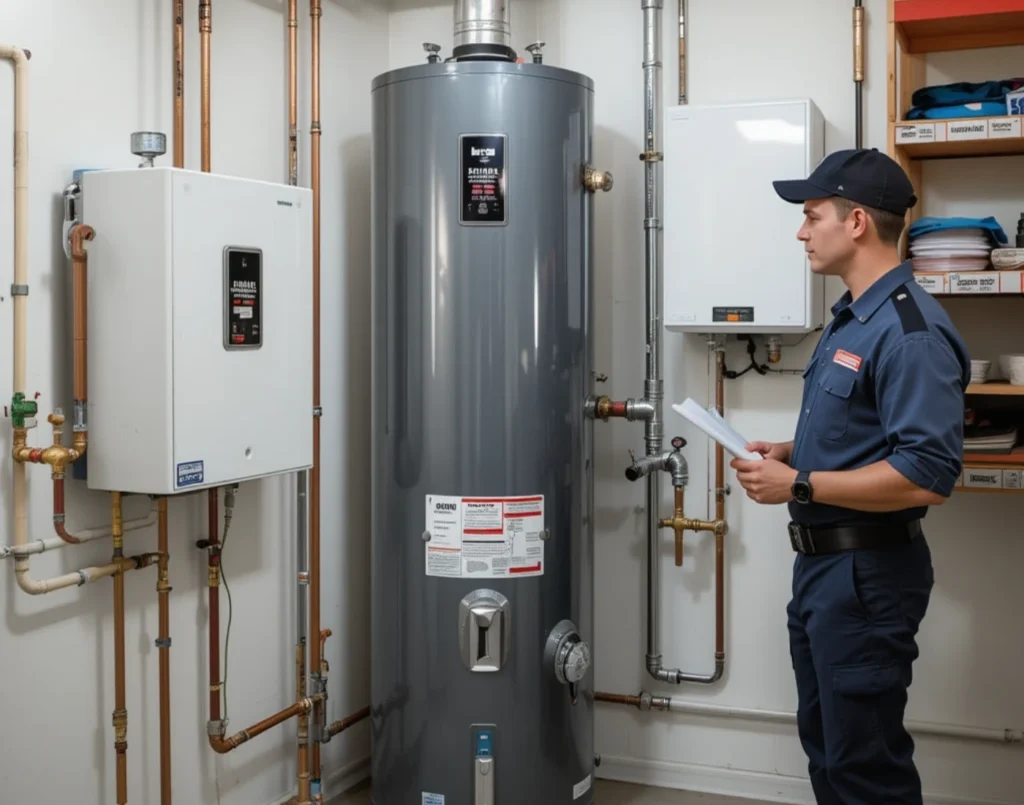
The cost to replace a water heater typically ranges from $900 to $3,500 in 2025, depending on the type, size, and installation complexity. Standard tank models are usually less expensive, while tankless systems cost more due to advanced technology and installation requirements.
2. What are the common causes of a dripping faucet?
The most common reasons for a dripping faucet include worn washers in compression faucets, damaged or hardened O-rings, corroded valve seats, and faulty cartridges in single-handle faucets. Mineral buildup from hard water can also cause parts to stick or lose their seal.
3. How do I stop water from dripping after I turn off the faucet?
To stop dripping after shutoff, replace worn washers or O-rings and check that the valve seat is smooth and undamaged. Clean out any mineral buildup from faucet components by soaking them in vinegar.
4. When should I call a plumber for a leaking tap instead of fixing it myself?
You should call a plumber if the leak originates from pipes inside walls or under floors, if the faucet handle is severely corroded or stuck, or if the leak persists even after replacing washers and O-rings.
5. What happens if I ignore a leaky faucet for too long?
Ignoring a leaky faucet can waste over 3,000 gallons yearly, significantly increasing water bills. Over time, the constant moisture can lead to mould growth, wood rot, and corrosion of nearby fixtures.