Cedar shake roofs are beautiful and durable. However, they require ordinary upkeep and repairs like any other roofing system. Act quickly when leaks happen. This helps avoid expensive water damage and can make your roof last longer.
Leaky cedar shake roofs can lead to costly structural damage if not addressed quickly. This complete guide walks homeowners through identifying, inspecting, and repairing cedar shake roof leaks. Learn DIY steps, when to call a pro, and how to maintain your roof for long-term durability and energy savings. Perfect for homeowners in cedar-heavy regions like the Pacific Northwest or mountain areas.
Cedar Shake Roofing Basics
Cedar roofs constitute one of the most attractive and durable roofing materials available. Understanding the fundamentals helps homeowners make informed decisions about repairs and maintenance.
Understanding Cedar Shingles vs. Shakes
Machines reduce cedar shingles, making them uniform in thickness and smooth on the surface. In contrast, cedar shakes are hand-split or sawn, creating a rustic, textured look. Shingles are usually thicker than regular shingles. This gives them better weather resistance and makes them last longer. Both materials are made from Western Red Cedar. This wood is valued for its natural oils, which help it resist decay and insects.
Hand-Split Shakes vs. Tapersawn Shakes
Hand-split shakes are very durable. Their rough texture helps shed water well. Tapersawn shakes blend gadget precision with the herbal perks of cedar. They have one smooth side and one textured side. Your choice depends on what looks good and how much you want to spend on your cedar shake roof.
How Do You Identify Leak Sources?
Finding the exact location of roof leaks requires systematic inspection and proper techniques. Water often travels along roof decking before dripping into living spaces below.
Visual Inspection Techniques
Check your cedar roof from the ground using binoculars. Look for clear damage, such as:
- Missing or cracked shakes
- Curled or lifted edges
- Dark stains indicating moisture retention
- Exposed nail heads or flashing issues
Interior inspection shows water stains on ceilings, walls, or in attics. These stains help trace leaks back to their source.
Using Moisture Meters
Moisture meters find hidden water in cedar shakes and roof decking. These tools identify problem areas before visible damage, allowing for proactive repairs. Many local hardware stores rent moisture meters for DIY roof inspections.
Preparing for Cedar Shake Roof Repair
Proper preparation ensures safe, effective repairs that last. Using the right materials and following safety rules keeps you and your home safe.
Essential Tools and Materials
Your repair kit should include:
- Replacement cedar shakes match existing materials
- Galvanized or stainless steel shingle nails
- Hammer and pry bar for shake removal.
- Roofing cement or sealant for weatherproofing.
- Safety harness and non-slip footwear
Quality roofing materials prevent premature failure and reduce future maintenance needs.
Safety Precautions to Take
In no way should cedar roof maintenance be performed during moist or windy conditions. Ensure your ladder extends at least three feet above the roof edge and have someone spot you from below. Wear rubber-soled shoes for better grip on cedar shake surfaces. Also, steer clear of damaged or moss-covered areas.
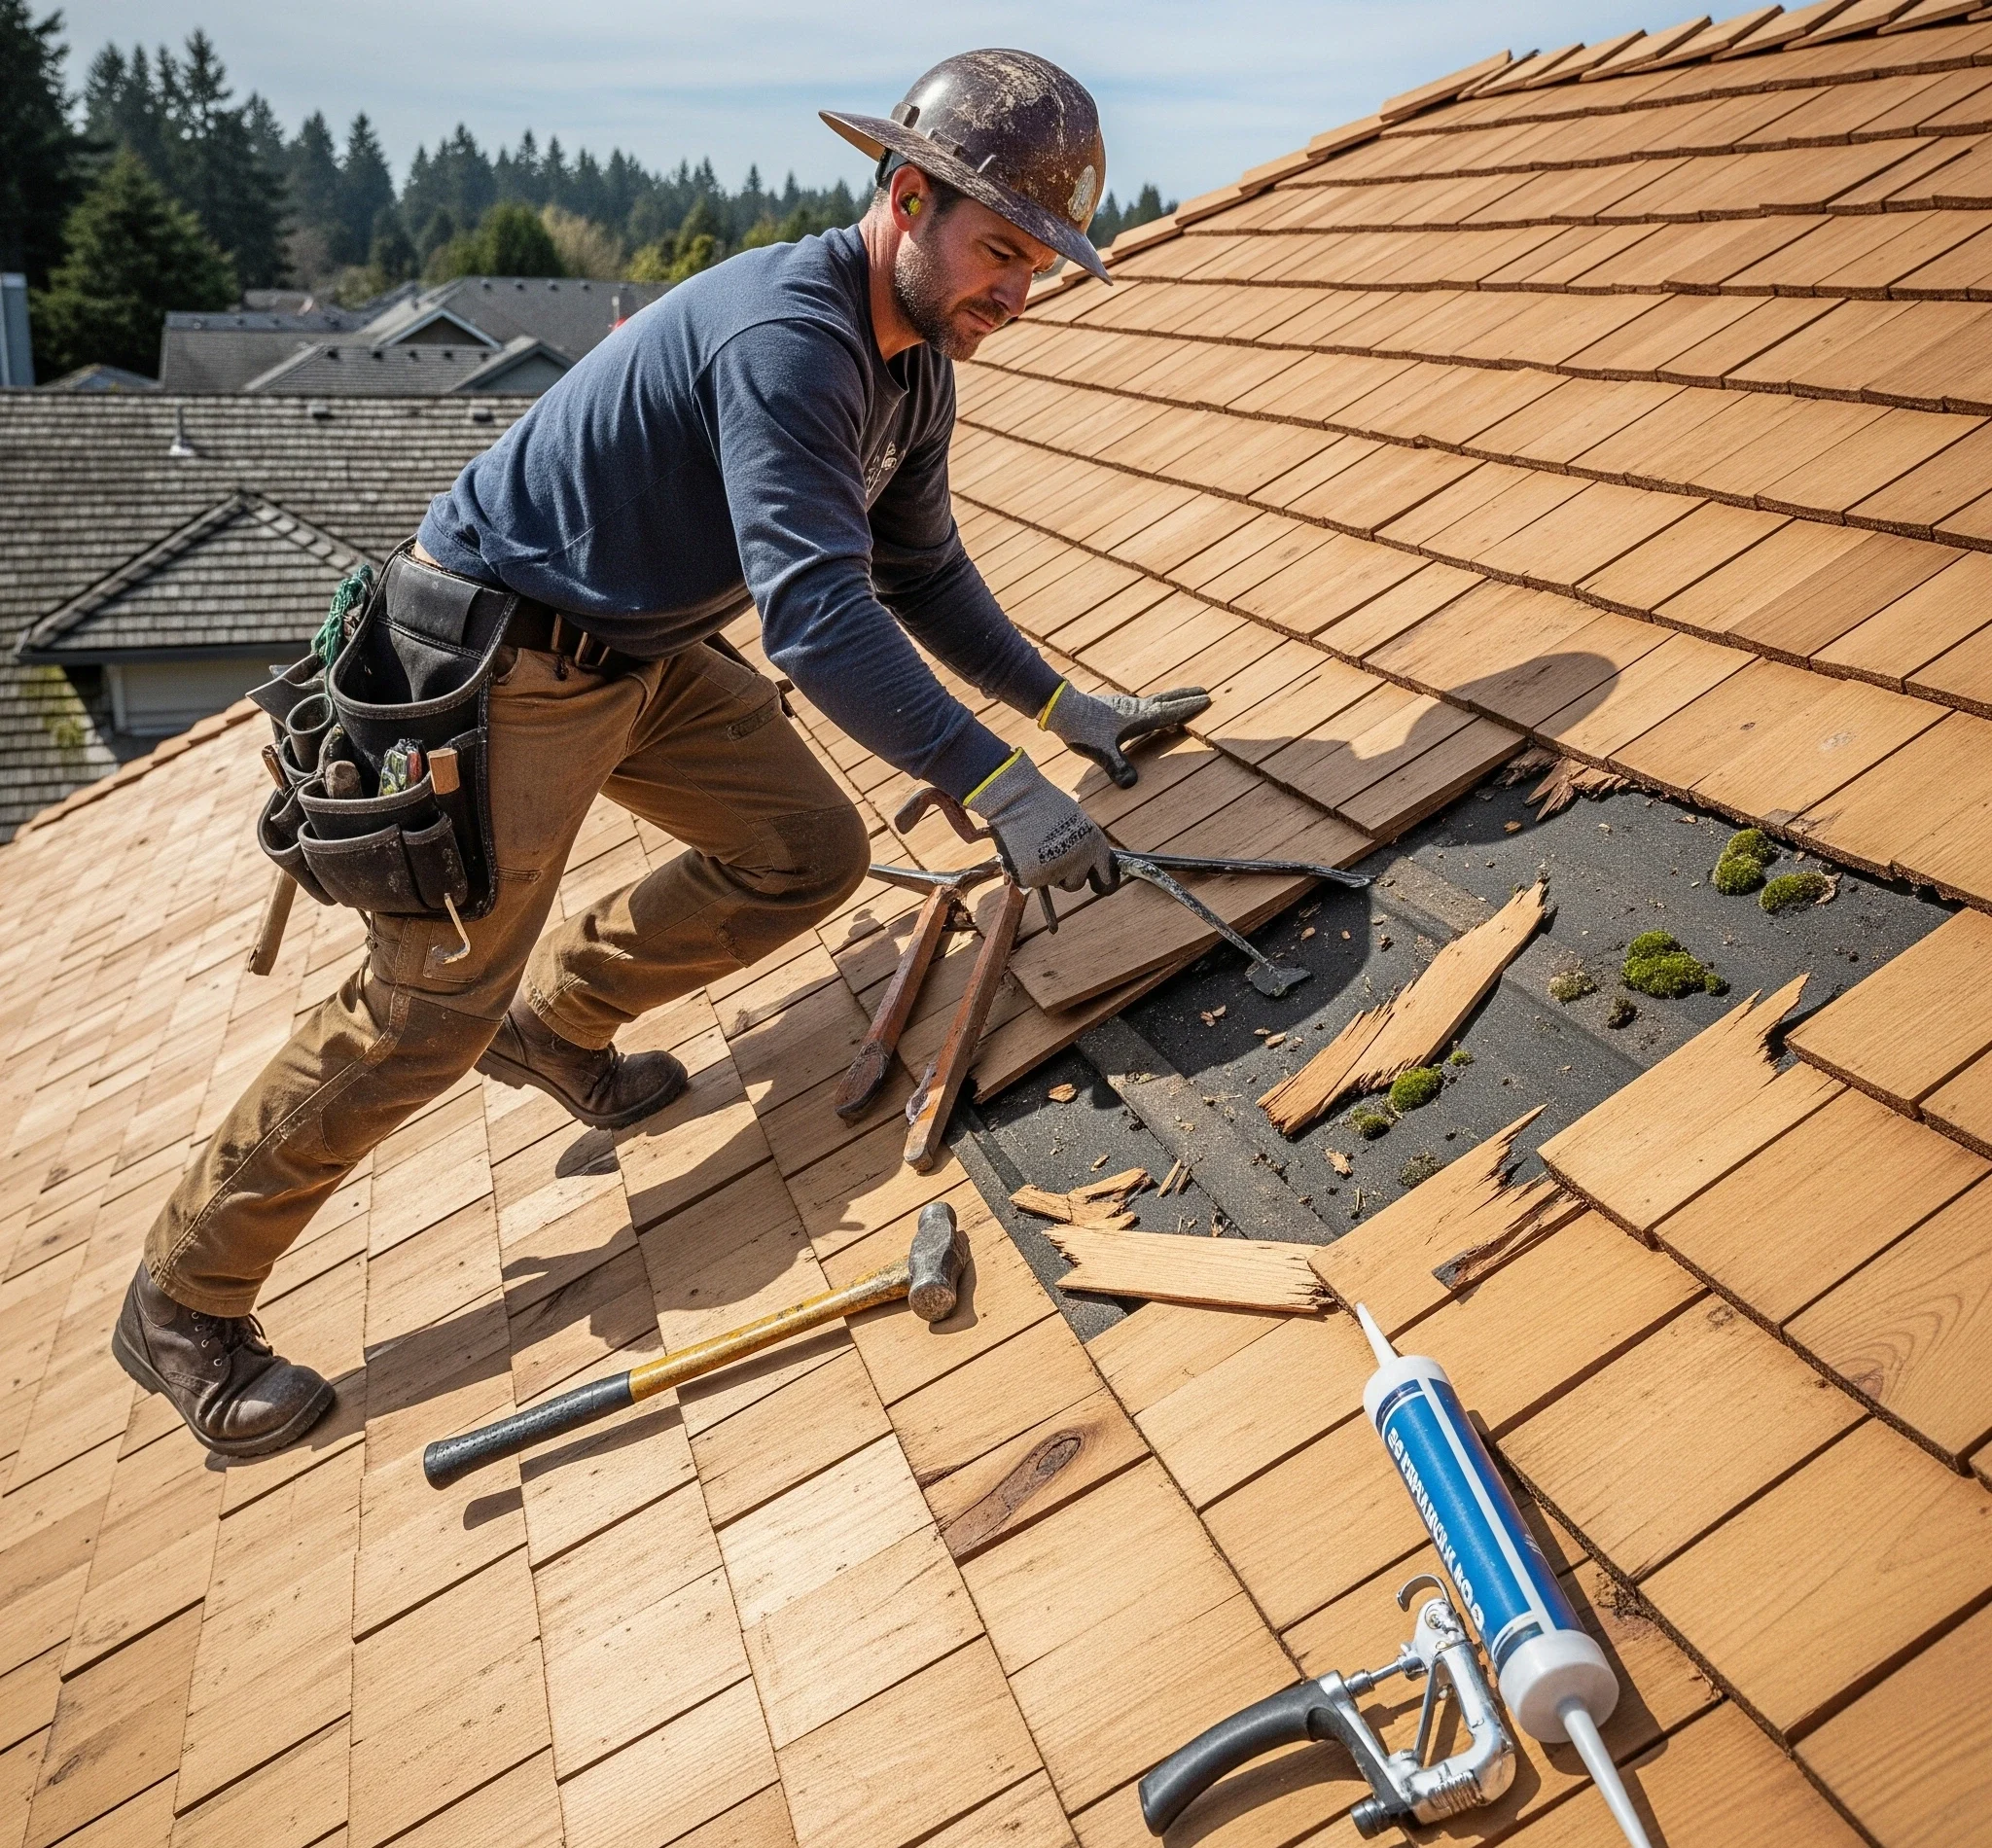
DIY Repair Steps
Following the right repair steps leads to lasting results and prevents further water damage to your roof systems.
Removing Damaged Shakes
- Carefully lift the surrounding shakes to access the damaged piece.
- Use a pry bar to remove the nails securing the compromised shake.
- Slide the damaged shake out while protecting adjacent materials.
- Clean debris from the exposed area and inspect the underlying felt paper.
Take photos before removal to ensure proper replacement positioning and overlap patterns.
Installing Replacement Shakes
Position new shakes to match existing overlap patterns, maintaining proper spacing for expansion. Pressure galvanized nails approximately one inch from every aspect. Ensure the nails go into the roof decking by at least three-quarters of an inch. Avoid overdriving nails, which can crack cedar and create new leak points.
Sealing and Waterproofing
Use a putty knife to apply roofing cement around nail heads and any gaps among shakes. Ensure the sealant doesn’t interfere with natural drainage patterns or prevent proper ventilation. Quality waterproof underlayers beneath shakes provide additional protection against water penetration.
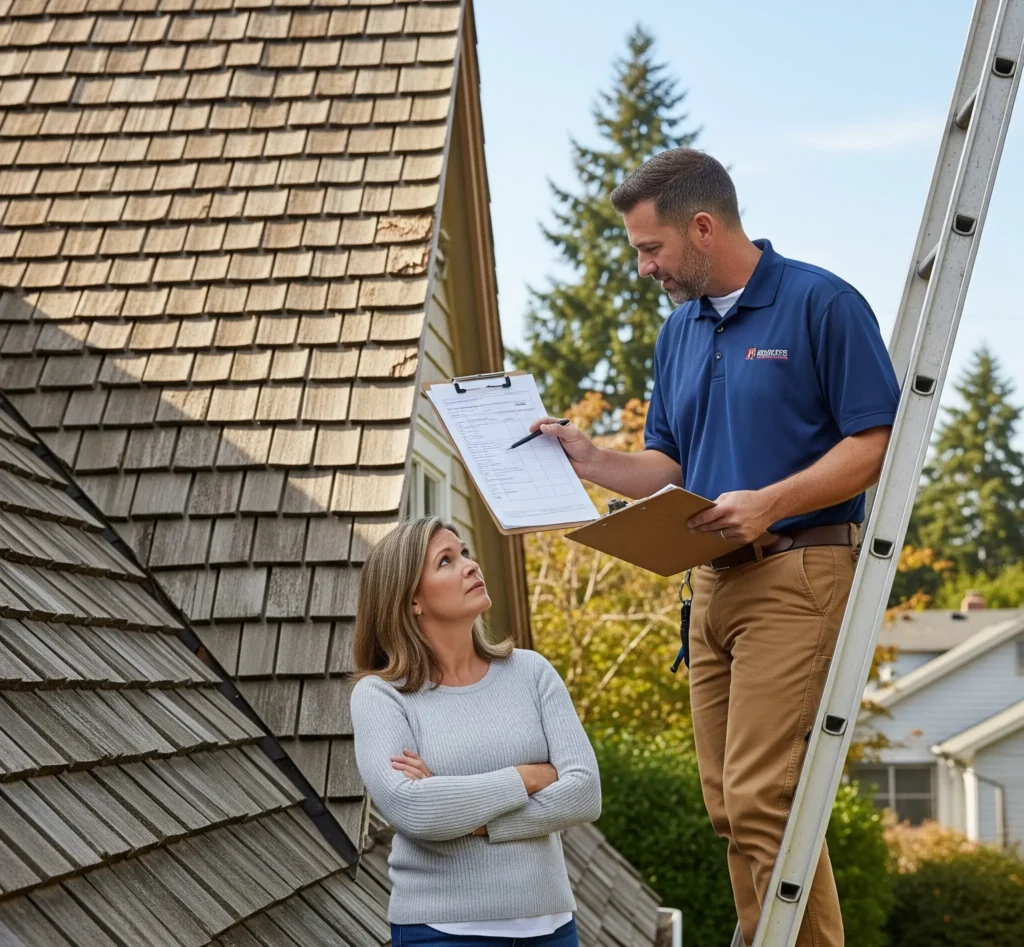
When Should You Call Professionals?
Major repairs or serious damage usually need expert help. This ensures correct restoration and avoids expensive errors.
Benefits of Professional Inspection
- Certified installers can spot hidden problems. These may include structural damage, poor ventilation, or needed flashing repairs.
- Professional assessments help save money by addressing root causes instead of surface-level problems.
- Many contractors provide free estimates for cedar shake roof repairs.
Choosing a Qualified Contractor
- Choose contractors with experience in cedar roofing and proper licensing for your area.
- Ask for references from recent customers to ensure first-class work.
- Verify that the contractor has coverage, including legal responsibility and employee compensation.
- Look for contractors who provide distinct written estimates and warranties for their work.
Regular Maintenance for Longevity
Consistent maintenance prevents most cedar shake roof problems and significantly extends material lifespan.
Cleaning and Debris Removal
- Remove leaves, branches, and debris that trap moisture against cedar surfaces.
- Clean gutters frequently to prevent water backup and ice dam formation.
- Trim overhanging tree branches to reduce particle accumulation and color.
- Inspect and clean roof valleys where debris commonly collects.
Pressure washing can harm cedar fibers. So, when needed, use gentle cleaning methods and soft brushes.
Staining and Sealing Tips
Wood preservatives protect cedar from UV ray exposure and moisture damage. Apply stain or sealant every 3-5 years, depending on climate conditions and exposure. Select products made for cedar roofs and follow the manufacturer’s instructions for the best results.
Moss and Algae Control
Moss buildup retains moisture and accelerates cedar deterioration. Install copper strips along roof ridges to prevent moss growth naturally. For moss removal, use gentle cleaners. Avoid pressure washers; they can harm wood fibers. Professional cleaning services ensure safe, effective treatment.
Environmental Considerations
Cedar shake roofing is better for the environment than synthetic options. It comes from natural, renewable wood and can fully biodegrade. Cedar shake roofing has a smaller carbon footprint while being made. Cedar shake roofing has a smaller carbon footprint while being made. It also gives better insulation, which cuts energy use in your home.
Impact of Cedar Shake Roofing
Sustainably harvested wood from certified forests supports responsible forestry practices. Cedar roofs break down easily at the end of their life. They also need less processing than artificial materials. The USDA Forest Service backs cedar harvesting to promote healthy forest management.
Eco-Friendly Solutions
Pick substitute shakes from certified sustainable resources and recycle eliminated substances when viable.
Natural cleaning solutions minimize environmental impact while effectively controlling mildew and moss. Neighborhood providers reduce transportation charges and aid nearby economies.
What About Energy Efficiency Benefits?
Cedar shake roofs bring a classic, rustic look. They also provide great natural insulation, helping to keep indoor temperatures steady. This insulation makes houses extra comfortable all year. It keeps rooms cooler in the summer and hotter in the winter. Additionally, it lowers electricity expenses and boosts energy efficiency.
Insulation Benefits of Cedar Shakes
- Cedar naturally resists heat, so it helps keep indoor temperatures steady all year.
- Its cell structure creates air pockets. These pockets provide better insulation than many synthetic materials.
- Right installation and good enough air flow decorate cedar’s power performance advantages.
Additional Insulation Options
- Combine cedar shake roofing with modern insulation materials for better energy efficiency.
- Proper attic insulation and ventilation enhance cedar’s natural ability to regulate temperature.
- Reduced heating and cooling costs result from this combination.
- Always consult local building codes for insulation requirements in your area.
Protecting Your Investment
Repairing a leak in a cedar shake roof needs careful work and the right methods. The results are worth the effort. Ordinary protection and short upkeep keep your private home secure. Additionally, they help preserve the natural beauty of cedar roofing. Knowing the basics helps you get great results, whether you fix things yourself or hire pros. This understanding can lead to quality work that lasts for years.
FAQs
What causes leaks in a cedar shake roof?
Cedar shake roofs can leak for several reasons. Common reasons include cracked or missing shingles, poor setup, and growing old. Moss and lichen can grow, which may cause issues. Broken flashing around chimneys or vents can also contribute.
How do I repair a leak in my cedar shake roof?
Replace damaged shakes, seal gaps with roofing cement, and ensure proper flashing. Install underlayment or consult a professional to address structural issues for larger leaks.
Can I patch a cedar shake roof leak myself?
Yes, for minor leaks, update individual shakes and observe sealant. But if there is serious damage or mold growth, you might need a pro to fix it. This will stop things from getting worse.
How much does cedar shake roof leak repair cost?
Costs can change: DIY repairs (just materials) might be $50–$200. Professional repairs can range from $500 to over $2,000, depending on the damage.
How can I prevent future leaks in my cedar shake roof?
Regularly inspect and clean the shakes.
Trim overhanging branches to reduce debris.
Apply moss/algae inhibitors.
Ensure proper attic ventilation to reduce moisture buildup.