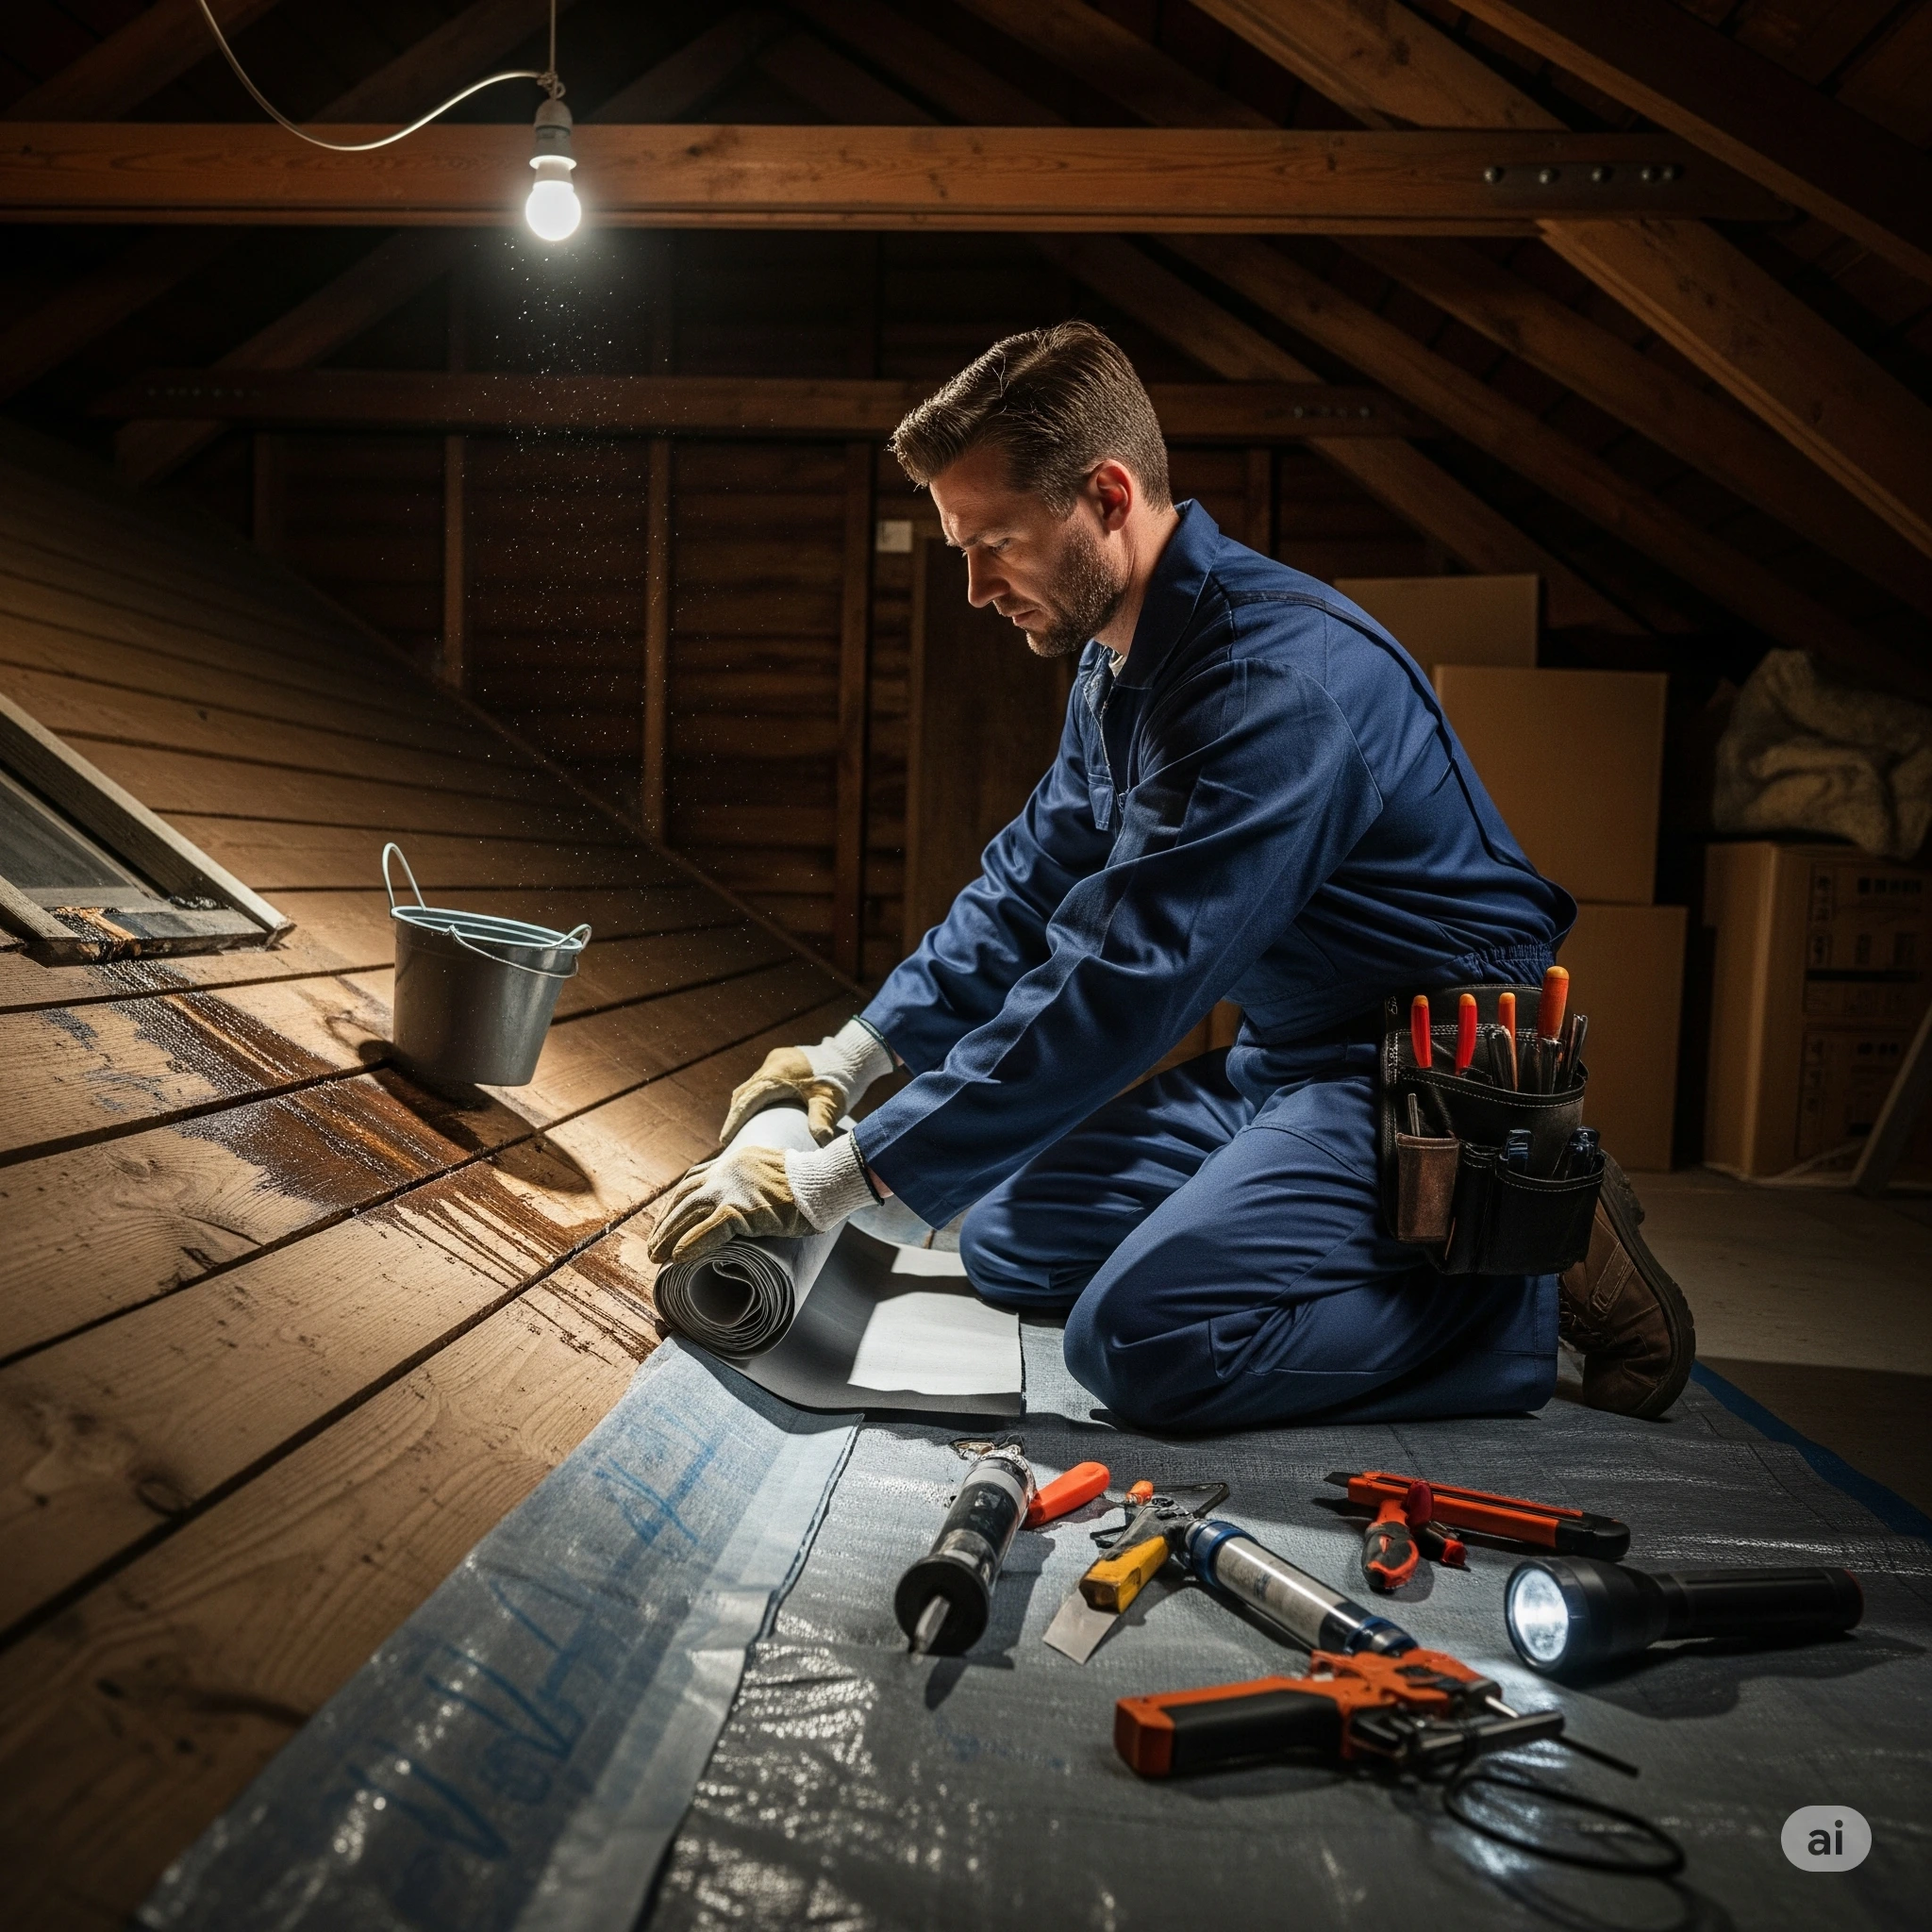
Roof leaks are a frustrating home issue. They often appear during the worst times, like heavy rain or winter storms. Swift action is crucial to minimize water damage and prevent costly roof leak repair. If you’re facing a leaky roof and outdoor work isn’t possible, don’t panic. This guide demonstrates how to fix a roof leak from the attic. You’ll learn to protect your home, save valuables, and cut repair costs. Do this before calling a professional roofing contractor.
Look for water stains, trails, or wet insulation to determine where your roof leaks. Gather the necessary tools: roofing cement, tar, waterproof tape, a plastic tarp, and safety gear. Clear debris from the attic and dry the area near the leak. Cover the area with a tarp or roofing tape to stop the leak and limit water damage. Watch for mold or leaks. Regular roof inspections can help stop problems before they start. Call a pro for major roof leaks, structural damage, or constant water issues. They will ensure that the repairs are completed correctly.
Benefits of Fixing Roof Leaks from the Inside
Rapid Response in Bad Weather
Bad weather, like heavy rain or snow, can make it unsafe to work outside. Fixing a roof leak from the attic helps you handle emergencies safely. This is especially helpful during storms or strong winds.
Prevents Worsening Water Damage
Every minute matters when water starts leaking through the roof. Small leaks can lead to big problems. They can cause ceiling stains, damp insulation, and warped joists. In time, this may mean you need a new roof. Repairs can save you thousands of dollars if you act fast.
Saves Money on Immediate Repairs
DIY techniques for temporary patching are budget-friendly and accessible. You can save money on emergency roof repairs. Just use roofing tar, waterproof tape, and a plastic tarp. These items can hold you over until you get professional help. This can mean the difference between a minor project and a costly major intervention.
Reduces Health Risks from Mold and Mildew
A quick response helps stop mold growth from standing water or wet insulation. Catching and controlling leaks early helps protect family health and indoor air quality.
Keeps Your Home Comfortable and Functional
A dry attic guarantees your comfort and tranquility. Fixing a leaking roof right away stops water trails. This stops leaks from reaching the attic floor. It keeps ceilings clean and protects stored items.
Tools and Materials Needed for Roof Repair
Fixing an attic leak is simple if you have the right roofing materials. They make a difference. Gather these supplies before tackling your leaky roof:
- Roofing tar or roofing cement: Provides a durable seal for small holes and cracks in the roof decking.
- Plastic tarp or waterproof tape: Use for quick emergency covers, especially for big leaks.
- Roofing tape: A quick fix for linear cracks or seams on the roof deck.
- Flashlight or headlamp: Essential for inspecting roof penetrations and dark attic corners.
- Gloves, goggles, and safety gear: Always use puncture-resistant gloves and eye protection. A safety harness is critical if there’s any risk of falling.
- Replacement shingles or aluminum flashing: Get these if you see damaged shingles or need a tough patch for bigger leaks.
- Ladder: For safe attic access if you can’t enter through a hatch, and for safe movement while working.
- Utility knife, putty knife, or trowel: These tools cut tape, shape patches, and spread cement.
- Bucket or pan: To catch active drips and prevent water trails on the attic floor below.
- Old towels or rags: Helpful for drying damp insulation or cleaning up after the repairs.
Tip: If it’s raining or your attic access is hard, get help. Ask a friend, neighbor, or someone at your local home improvement store.
Step-by-Step Guide to Fixing a Roof Leak
Step 1: Locate the Source of the Leak
Finding a roof leak is crucial. Look for water stains, discoloration, or bubbling paint on your attic ceiling or floor. After heavy rain, check for water trails, which often lead from the leak to the attic floor. Remember, the leak might be far away. Water can move along joists, rafters, or the roof before it shows up.
- Shine a bright flashlight in all nooks and crannies. Be careful of roof penetrations. These include vents, valleys, and areas near flashing and decking.
- Move or gently lift attic insulation to look for underlying moisture or mold growth.
- If you’re unsure, get someone to help. They can spray water on the roof if the weather allows. You watch for any drips inside.
- Inspect the metal flashing or roofing materials for any damage. Also, check for nearby cracked shingles or damaged areas.
Step 2: Prepare the Area for Repairs
After locating the roof leak, clean and dry the area. Remove any damp insulation or debris near the leak. Water-soaked insulation should be removed and dried to prevent mold and musty odors.
- Place a bucket, pan, or towels under the leak to catch any dripping water and protect the attic floor.
- Use rags or a portable fan to dry out surfaces as much as possible. This helps patches and roofing cement stick better. It makes the repair more effective.
- If you see major water damage, like bowed ceiling joists, rotten roof rafters, or black mold, take some photos. You can show these to a roofing contractor later.
Safety tip: Stand or kneel only on the strong parts of the attic floor. Don’t stand on insulation. You might break through the ceiling below.
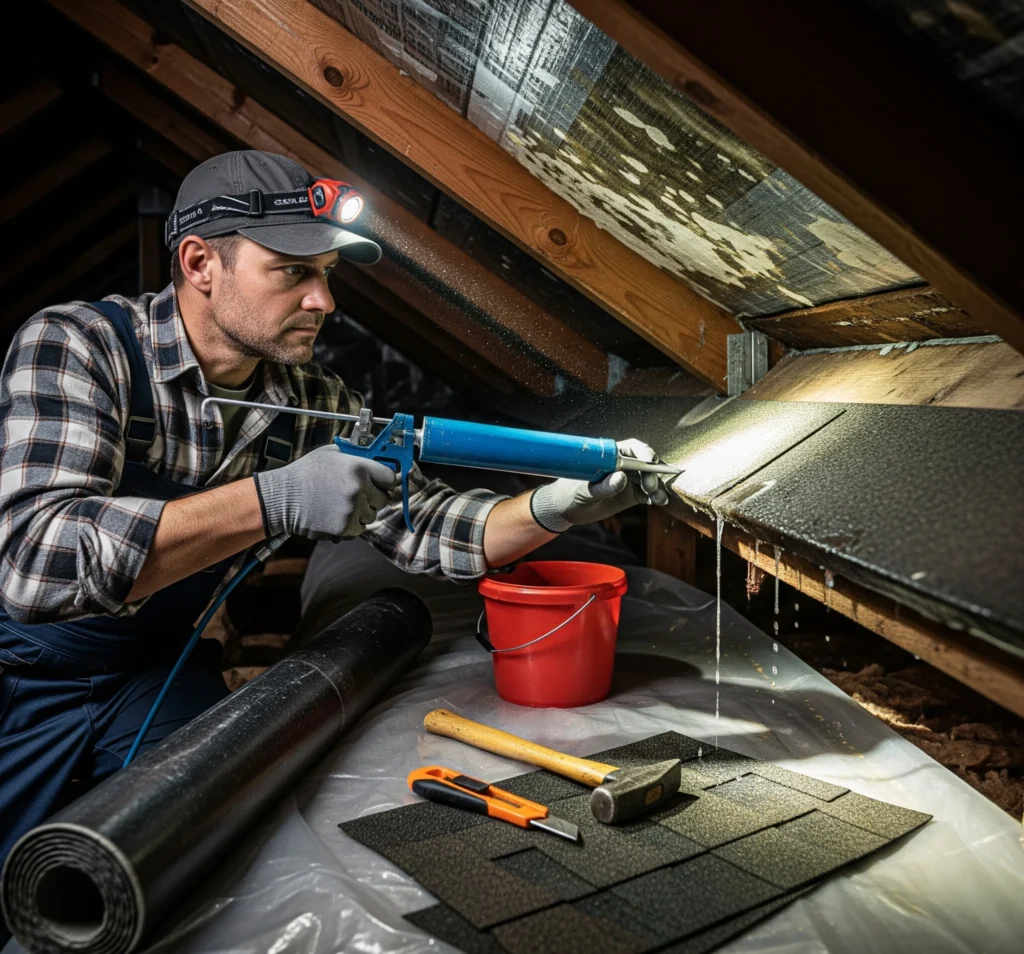
Step 3: Apply a Temporary Patch
For small, simple leaks (where you see a pinpoint hole or minor crack):
- Spread a generous coat of roofing tar or cement over the area using a putty knife or trowel. Press the material firmly into the gap, crack, or hole.
- Cover the patch with aluminum flashing. Seal the edges with roofing cement for added security.
For larger leaks or areas affected by storm damage:
- Cut a plastic tarp a few inches wider than the leak. Then, secure it over the wet spot on the roof deck. Use roofing tape or strong waterproof tape to secure the tarp’s edges. Then, seal all seams well to stop water from leaking.
- You may use roofing tape alone for narrow leaks, but always press to remove air bubbles and ensure a strong bond.
If the attic is humid or cold, patches may take longer to set. Check for drips after 20–30 minutes to be sure your leaky roof patch is holding.
Step 4: Check for Additional Damage
Check the rest of your attic for roof leaks or hidden water damage before you finish the job. You often see water trails moving away from the main leak. This is especially true if your roof is sloped or has valleys where water gathers.
- Examine all flashing, roof penetrations, valleys, and vents. Check for any missing parts or cracks.
- Check for spots where the insulation is dark or feels damp compared to nearby areas. This may show slow roof leaks.
- It could be mold if you notice black or green spots on attic wood or insulation. Take photos of the spots and tell a professional.
Catching roof valleys or a section of roof deck that feels soft is a sign of deeper water damage. Make a note to discuss these during your next roof inspection.
Pro Tips and Safety Advice
- Never try attic repairs if it feels unsafe or during strong storms. Your safety is the top priority. Either call a roofing contractor or wait for stable conditions.
- Always wear safety gear. Gloves guard your skin. Goggles protect your eyes. Wear a safety harness to prevent falls in steep or unfloored attics.
- Please don’t step on ceiling joists; they can’t support your weight. Stick to boards and move carefully.
- To stop mold, dry the usable insulation well. Also, keep the attic hatch open for ventilation after repairs.
- Temporary patches are for emergencies; always follow up with a professional inspection. Relying on quick fixes can lead to structural rot or a full roof replacement.
Preventative Maintenance and Leak Prevention
Regular Inspection Tips
Regular roof inspections help stop leaks. This is especially important after storms or heavy rain. Examine your attic during all seasons and following inclement weather. Check for signs of damp insulation, water stains, or trails. Check vulnerable spots like vents, pipes, satellite mounts, valleys, and flashing. These areas often leak. Lift insulation to check for hidden leaks near the roof decking and ceiling joists. Regular maintenance can save you costly repairs later.
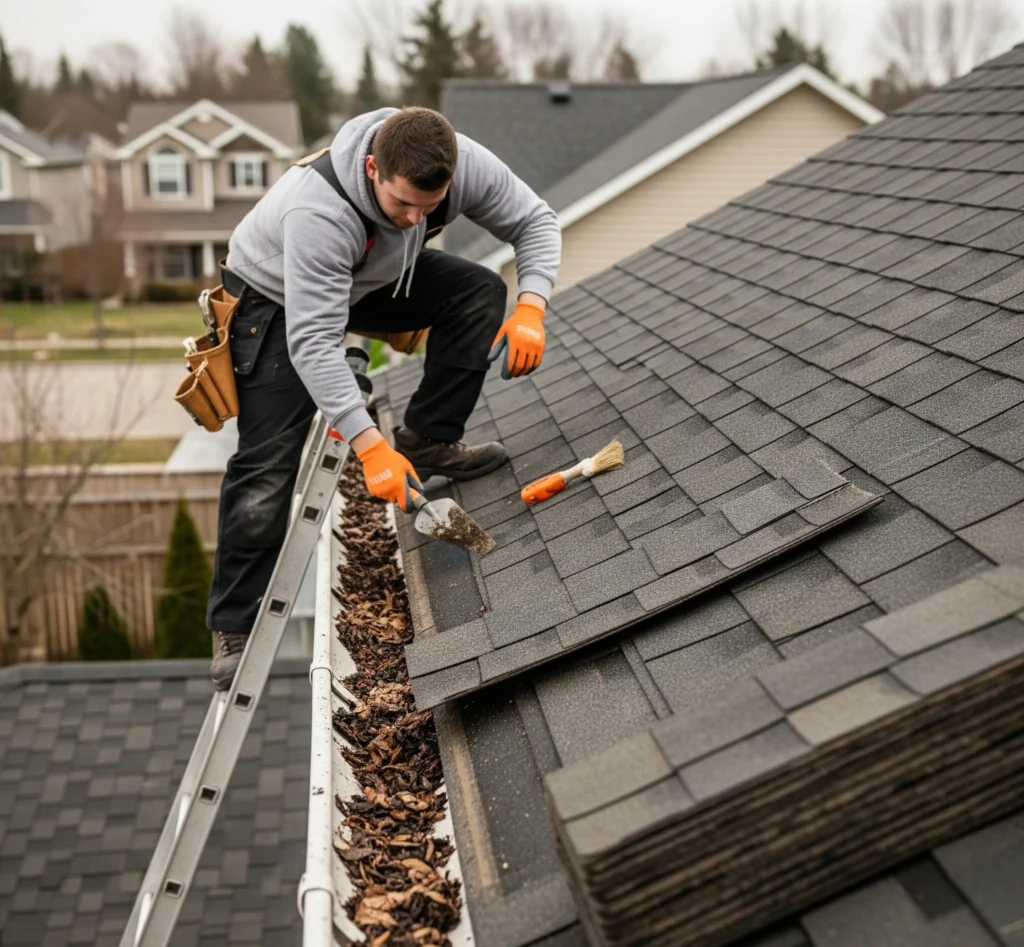
Preventative Measures
Stay ahead of roofing issues with regular maintenance. Clean gutters often to prevent water buildup that can cause leaks, mold, or stains. Replace damaged shingles or tiles promptly, especially after storms. Use roofing sealant on trouble spots like valleys, flashing, and old repairs. Schedule yearly roof inspections with a licensed contractor. This helps catch small problems before they grow.
Location tip: If you live in a rainy area with strong winds, like the Gulf Coast, check your property twice a year.
Final Thoughts
Fixing a roof leak from the attic helps you act fast. This limits water damage, especially when you can’t make outside repairs. These quick fixes can help in emergencies. But they can’t replace proper roof repairs or a professional inspection. Protect your home with timely repairs, regular maintenance, and a well-ventilated, dry attic. During a storm, you can keep your house dry. Just use the right materials and take care with your approach. Acting fast can prevent bigger problems down the line!
FAQs
1. Is it possible to repair a roof leak from the attic?
You can fix a roof leak from inside the attic. Use sealants, roofing tape, or a patch. This is helpful during bad weather or until outside repairs are done.
2. How do you find where a roof is leaking from inside?
Look for water stains, mold, or wet insulation. Tracing the water trail upward from the leak often helps locate the entry point in the roof.
3. Which sealant works best for roof leaks?
Many advise rubberized roof sealants or leak-stopping sprays for quick fixes in the attic.
4. Is it safe to repair a roof leak from the attic?
It can be safe if you take precautions. Use stable flooring, have good lighting, and wear protective gear. However, it’s a temporary fix that professional repairs should follow.
5. What causes roof leaks during heavy rain?
Common causes are broken shingles, damaged flashing, clogged gutters, and old roofing materials. These issues can let water in.
Read Also: Water Damage Roof Repair: Prevent Costly Issues Now