Roof vent pipe leaks can quickly go from small drips to big water damage. Small troubles can become luxurious upkeep if left alone. So, early detection and proper repair methods are crucial for every homeowner.
Leaks around vent pipes occur due to damaged rubber boots, deteriorated caulking, or loose metal flashing. Regular attic inspections help catch water stains and mold growth early. Most repairs involve cleaning the area, applying new roofing cement, and replacing worn vent pipe collars. However, complex repairs on steep roofs require professional assistance for safety.
What Causes Roof Vent Pipe Leaks?
Identifying Roof Vent Pipe Leaks
Water stains on your ceiling or walls often show a problem with your rooftop vent pipe gadget. These discolorations usually appear as brown or yellow rings. They grow larger over time, especially after heavy rain.
Check your attic regularly for dampness around vent pipe areas. Sparkling water marks, musty smells, or mold display leaks. These need quick action. Don’t ignore small drips. They rarely fix themselves and often get worse in storm seasons.
Causes of Vent Pipe Leaks
- Worn rubber boots at the pipe base crack due to UV rays and temperature changes.
- Unfastened or damaged steel flashing permits water ingress in the path of storms.
- Old caulking shrinks and pulls away from pipe connections over time.
- Improper installation creates gaps that compromise the watertight seal.
Weather extremes make these issues worse. This is especially true in areas with many freeze-thaw cycles or strong summer heat.
Early Detection Signs
Watch for these warning indicators throughout your home:
- Water stains are spreading across the ceiling tiles or drywall.
- Musty smells emanating from the walls near vent-pipe locations
- Peeling paint or wallpaper around pipe chase areas.
- Visible mold growth in attic spaces during routine inspections.
Early intervention stops small leaks from turning into big problems. This allows us to stay away from costly repairs and fundamental renovations.
Why Are Regular Attic Inspections Important?
Importance of Regular Attic Inspections
- Seasonal check-ups find issues early. This prevents costly water damage to insulation and framing.
- Finding problems early saves thousands on repairs. It’s cheaper than fixing advanced rot or mold later.
Schedule inspections twice yearly, preferably before and after your area’s heaviest rain seasons. Homeowners can buy simple moisture meters at their local hardware store. These meters help find hidden dampness near vent pipes.
Pro Tip: Schedule inspections twice yearly, before and after your area’s rainiest months.
How Do Different Vent Materials Perform?
Vulnerability of Different Roof Vent Materials
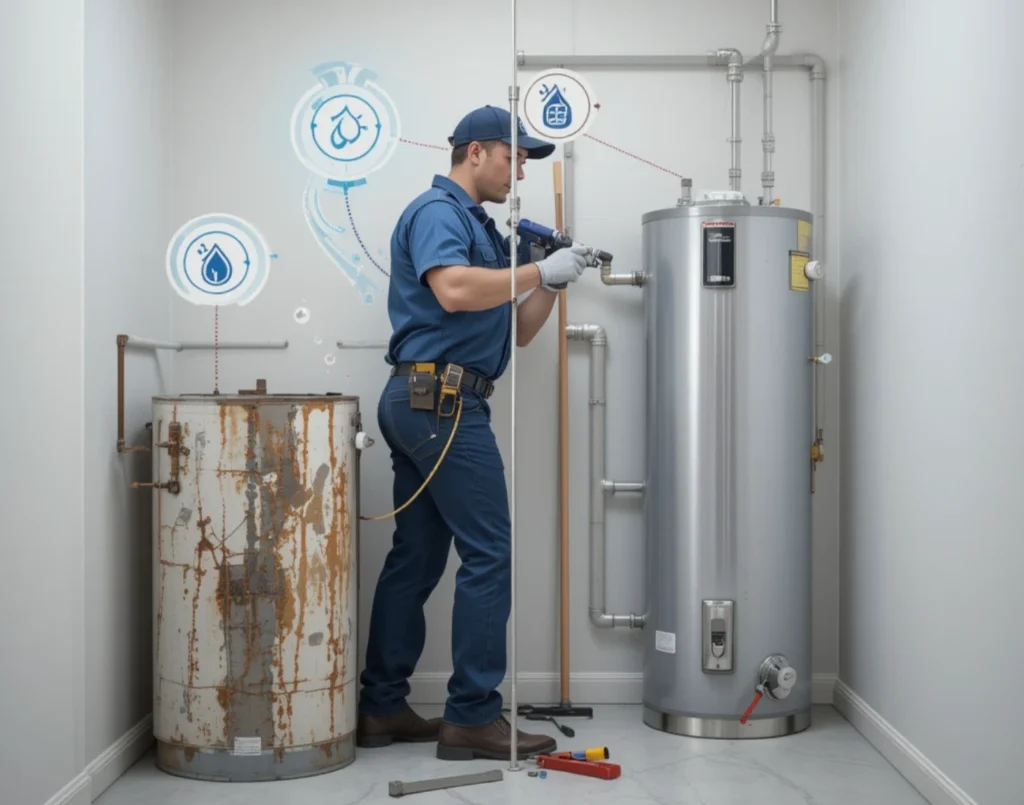
Rubber boots usually last 10 to 15 years before they crack. Metal parts can get rust spots or have loose connections. Lead boots are durable, but they need professional handling. This is important for health reasons during replacement.
Plastic vent pipe collars resist weather well, but they can get brittle in extreme cold. Understanding your specific materials helps determine appropriate repair approaches and replacement timelines.
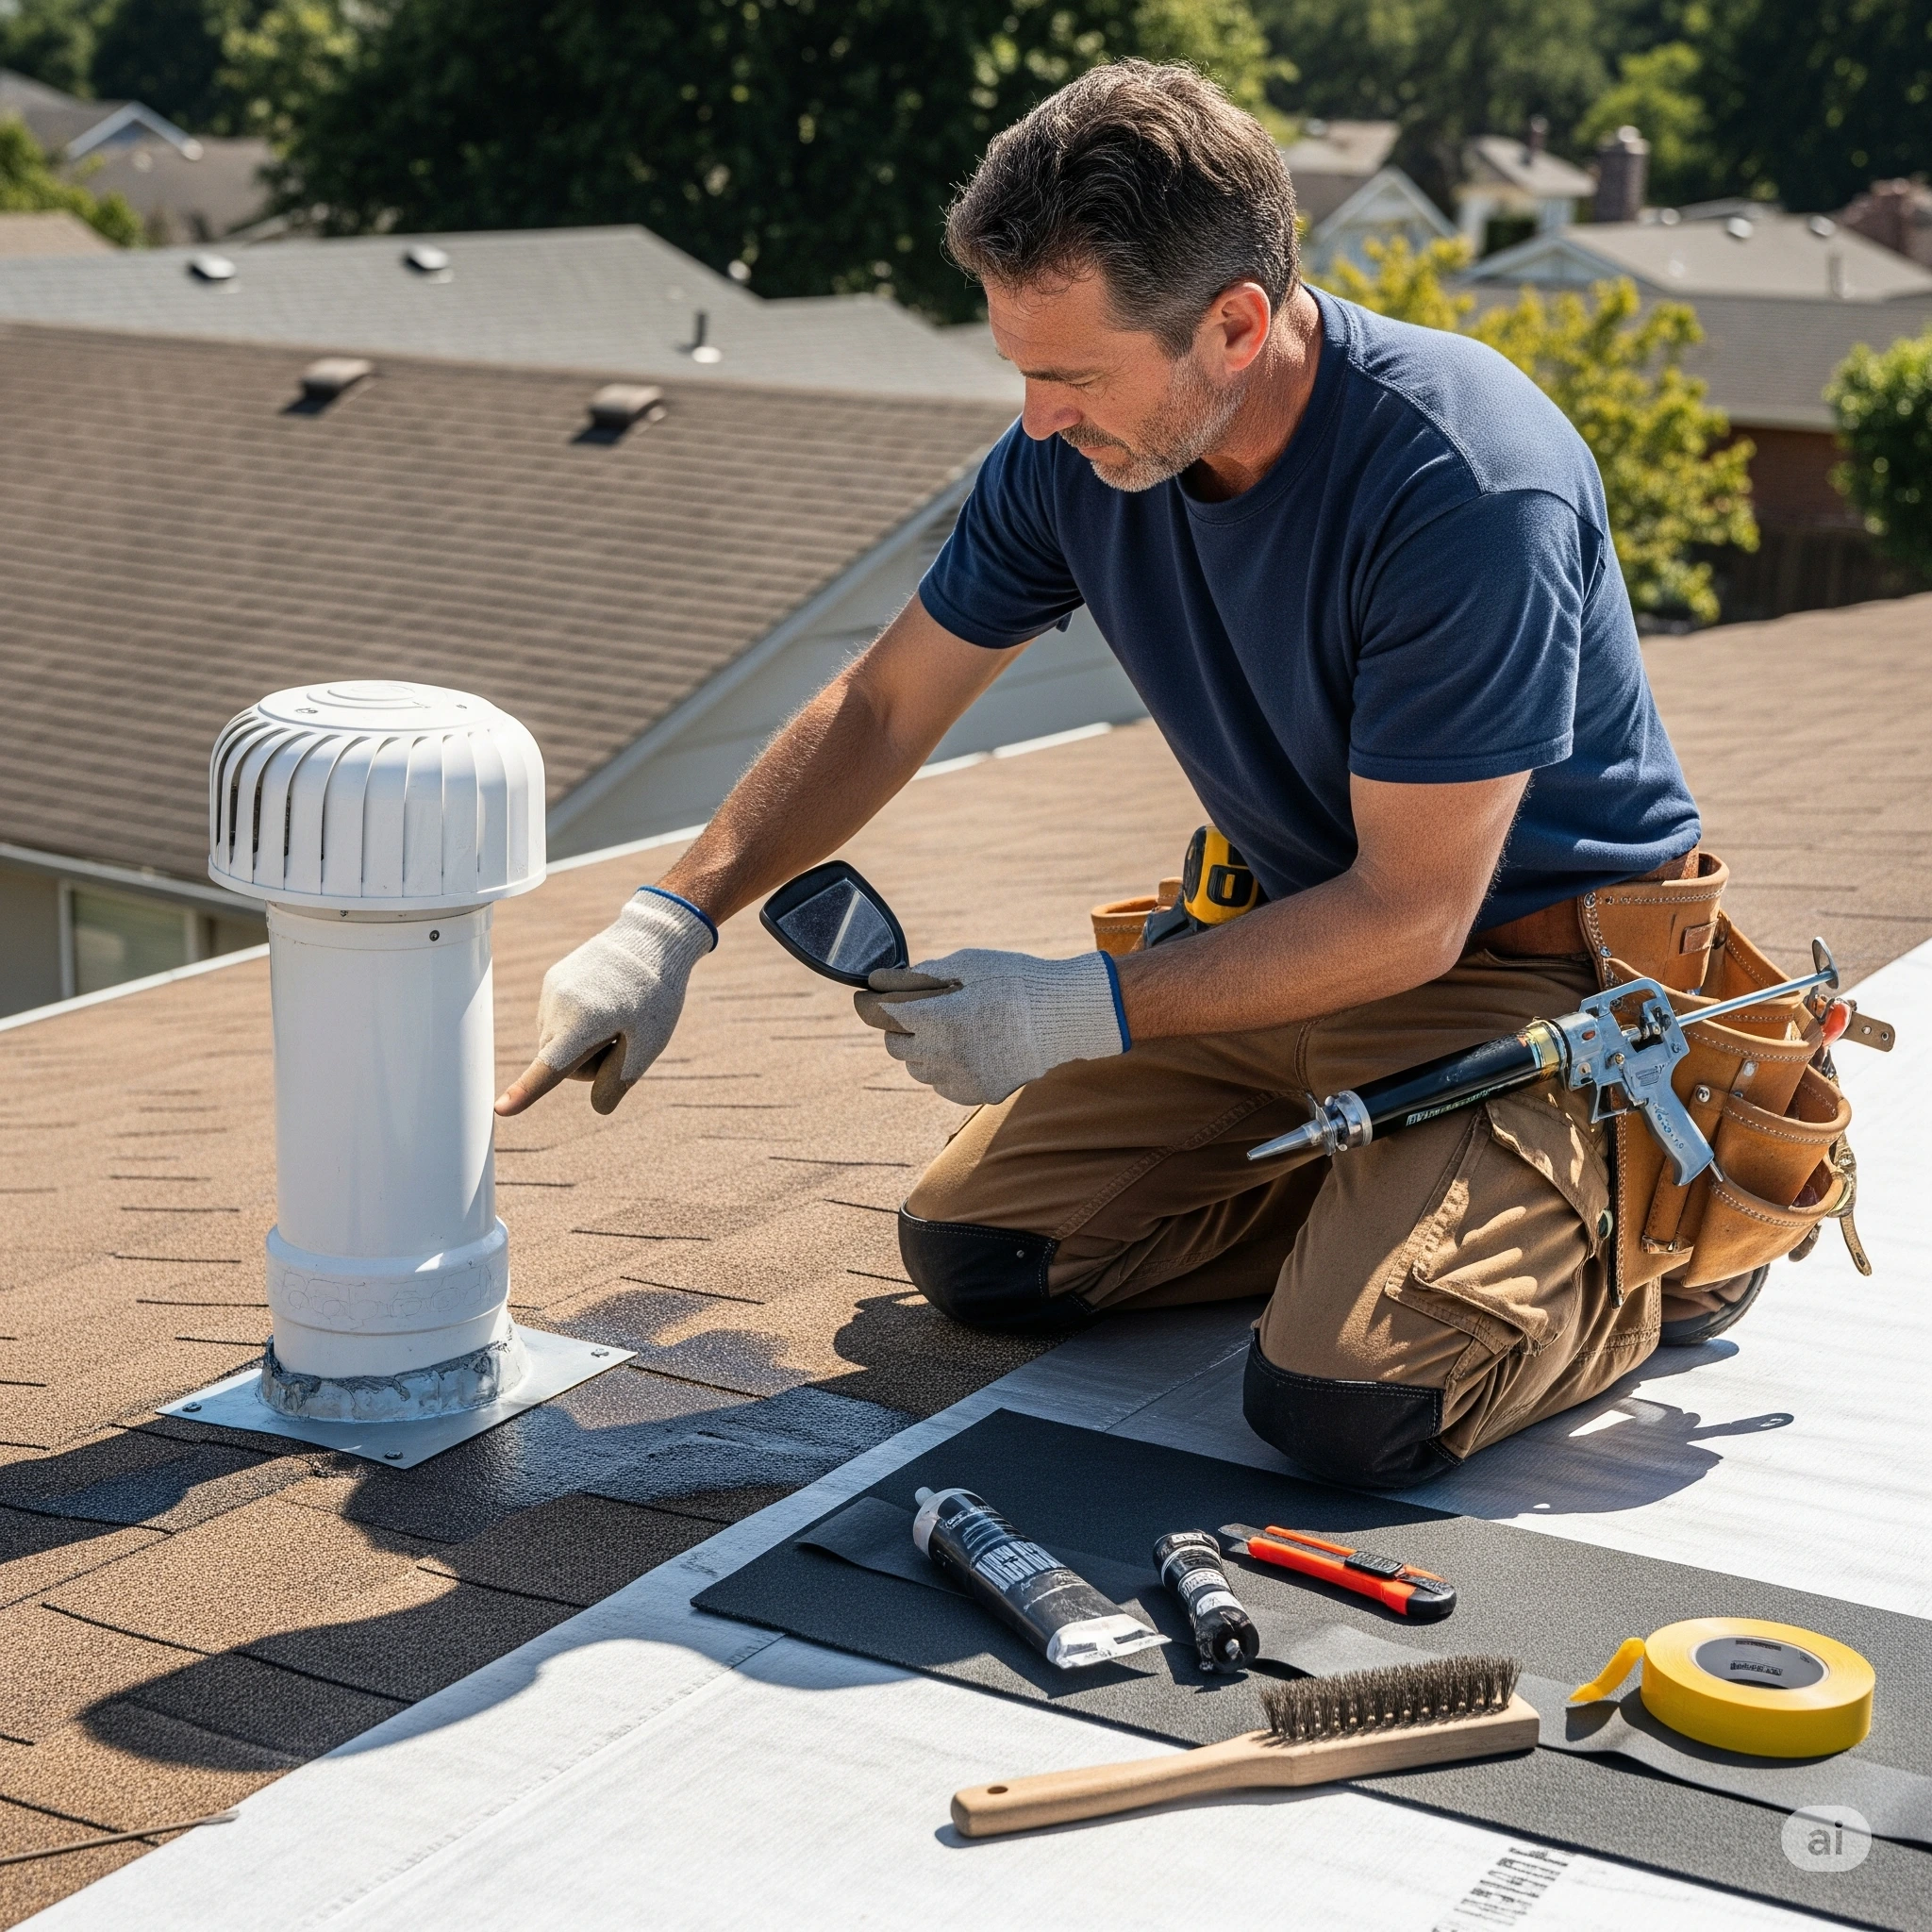
What’s the Complete Repair Process?
Step-by-Step Guide to Repairing Leaks
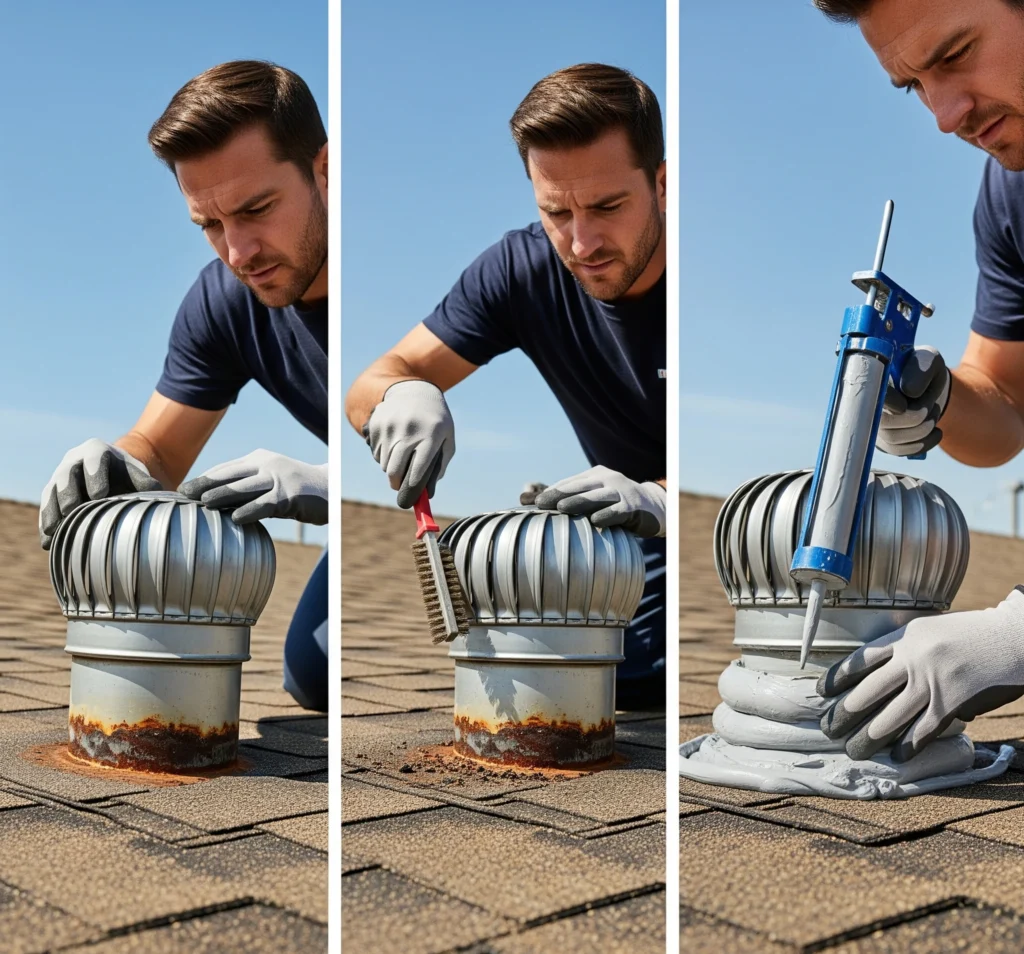
Cleaning the Vent Pipe Area
Remove all particles, old caulking, and loose roofing cement. Use a twine brush or a putty knife. Clean surfaces must be completely dry before applying new sealants. This preparation step determines the longevity of your repair work.
Inspecting for Damage
Examine the rubber boot for cracks, tears, or separation from the pipe. Check the metal flashing for rust holes or loose nails that compromise the seal. Replace any components showing significant wear rather than attempting temporary patches.
Caulking Techniques
- Apply primer to clean, dry surfaces for better adhesion.
- Use a caulk gun loaded with high-quality exterior sealant designed for roof applications.
Work in moderate temperatures (50-80°F) for optimal curing. Cast off all particles, antique caulking, and unfastened roofing cement, using a twine brush or putty knife.
Replacing Vent Pipe Components
Carefully remove damaged rubber boots. Use a pry bar so you don’t disturb nearby roof shingles. Install new boots. Make sure they fit well under the shingles above and below the pipe.
How Do Different Roof Types Affect Repairs?
Considerations for Different Roofing Types
Metal Roofs
Metallic roofs require specialized sealants that flex with thermal growth. Use butyl tape under the new flashing. Then, secure it with the right fasteners. Ensure those fasteners do not create greater leak factors.
Flat Roofs (TPO, EPDM)
Flat roofs demand careful attention to drainage patterns around vent pipes. Make sure repairs don’t leave low spots. Those can cause water to pool and harm membrane structures.
Clay Tile Roofs
Clay tile roofs present unique challenges requiring careful tile removal and replacement. Expert help can save money. This is because they have special skills in matching replacement tiles.
Slate Roofs
Slate roofs need expert handling due to material fragility and specialized installation requirements. Bad repairs can hurt costly slate tiles. This will lead to larger troubles than the original leak.
What Safety Measures Should You Take?
Safety Precautions for Roof Repairs
- Always use a safety harness and proper ladder placement.
- Wear eye goggles and non-slip footwear during all roof work.
- Avoid roof painting in wet, windy, or icy conditions.
- Have someone spot you from ground level during the repairs.
Always work with someone when making repairs, especially on steep or high roofs. Falls can lead to serious injuries.
What Tools and Materials Do You Need?
Tools and Materials Needed
Vital tools include a cord brush, putty knife, caulk gun, and pry bar for component elimination. Use quality materials like DAP® Ultra Clear™ Flexible All Purpose Waterproof Sealant. For large gaps, add foam backer rod. Also, get replacement vent pipe collars that fit your pipes.
Professional-grade roofing cement lasts longer than basic store options, especially in harsh weather.

When Should You Call Professionals?
When to Seek Professional Assistance
Contact a roofing contractor when repairs involve:
- Extensive structural damage beyond simple component replacements.
- Complex flat roof systems require specialized membrane work.
- Multiple leak sources are suggesting larger roofing problems.
- Safety concerns in steep or high-roof areas
A professional assessment can find problems that DIY repairs often miss. This prevents future issues and ensures thorough solutions.
How Can You Prevent Future Problems?
Preventive Strategies for Roof Vent Pipes
Regular Maintenance
Schedule yearly inspections of vent pipe areas. Focus on these inspections after bad weather. Clean any debris from pipe collars. Check the sealant. This allows for forestalling small issues from turning into huge leaks.
Proper Installation Techniques
- Ensure adequate overlap of flashing materials during any roofing work.
- Use compatible substances that enlarge and contract at comparable costs.
Quality installation prevents most future leak issues and significantly extends component lifespan.
Using Quality Products
Pick good sealants and replacement parts that fit your roof type and local weather. Cheap materials often break quickly. This leads to costly repairs that add up, making quality products a better choice in the long run.
Think about upgrading to rain collar systems for plumbing vents. They provide safety from wind-driven rain and ice dams.
Ready to Protect Your Home Investment?
Solving leaks around vent pipes quickly keeps your property safe from water damage. It keeps sewer gases out of your home. It also helps with attic ventilation. Act speedily, whether you do repairs yourself or rent execs. Quick action saves money and keeps your home strong.
Regular maintenance is cheaper than emergency repairs. Keep this in mind for the next heavy rain. Start with a thorough attic inspection today; your ceiling and wallet will thank you.
FAQs
What causes leaks around vent pipes?
Leaks around vent pipes can come from several issues.
These issues include:
Damaged roofing materials
Poor seals
Cracked pipe boots
Gaps between pipes and the roof
Weather exposure over time can worsen these issues.
How do I fix leaks around vent pipes?
To fix leaks, test the pipe boot for cracks. If it’s damaged, replace it. Then, roofing cement or waterproof sealant around the base is applied. Ensure the flashing is properly secured and overlaps the shingles.
Can I prevent leaks around vent pipes?
Yes, check the vent pipe area often for wear. Make sure to install flashing properly during roof repairs. Also, use high-quality sealants. Address minor issues promptly to avoid larger leaks.
Are leaks around vent pipes a serious problem?
Yes, ignored leaks can lead to water damage, mold growth, and structural issues. Early detection and repair are critical to save you from high-priced maintenance.
Do I have to hire an expert for vent pipe leaks?
For complicated or continual leaks, an expert roof artisan is recommended. They can ensure correct sealing, flashing, and long-term solutions to protect your roof.